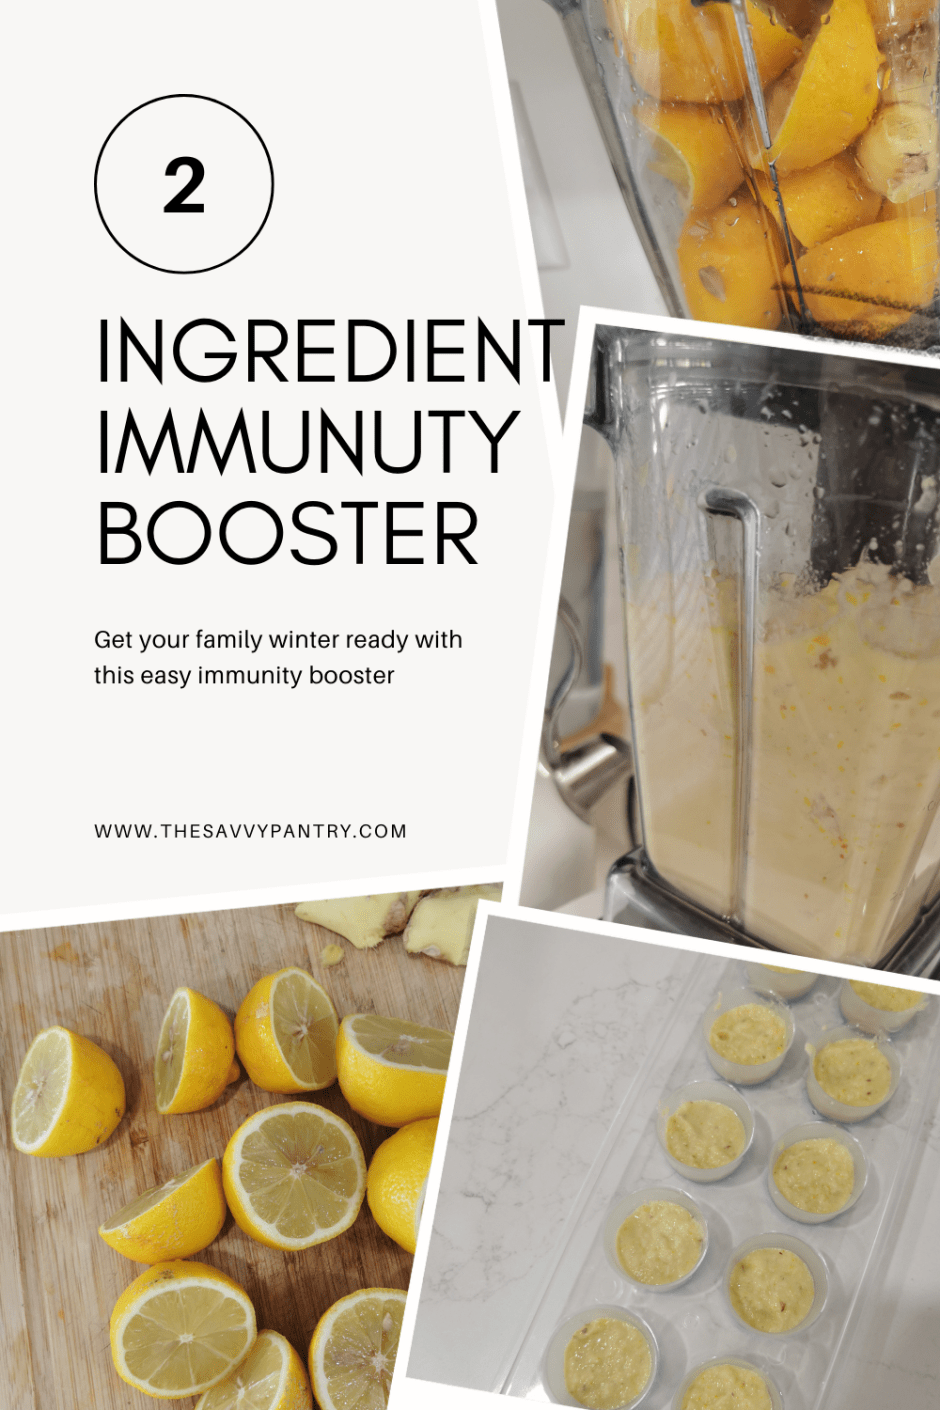
As the colder months roll in, keeping your family healthy becomes a top priority. Boosting immunity naturally is always a great choice, especially when it’s as simple as using two powerful ingredients that are likely already in your kitchen—ginger and lemon. This quick and easy immunity booster is perfect for the whole family, even for the little ones!
Why Ginger and Lemon?
Ginger is a well-known anti-inflammatory and antioxidant powerhouse. It’s been used for centuries to relieve colds, nausea, and improve digestion. Ginger’s anti-viral properties make it an ideal ingredient to fight off seasonal illnesses.
Lemon, packed with vitamin C, works wonders for your immune system. It not only helps the body fight infections but also detoxifies the system and provides a refreshing boost of energy.
Together, these two ingredients create a potent, natural remedy to keep your immune system strong throughout the winter months.
How to Make my 2 Ingredient Immunity Booster
Ingredients:
6 whole lemons, washed
1 large piece of ginger root, about 4 inches long
Directions:
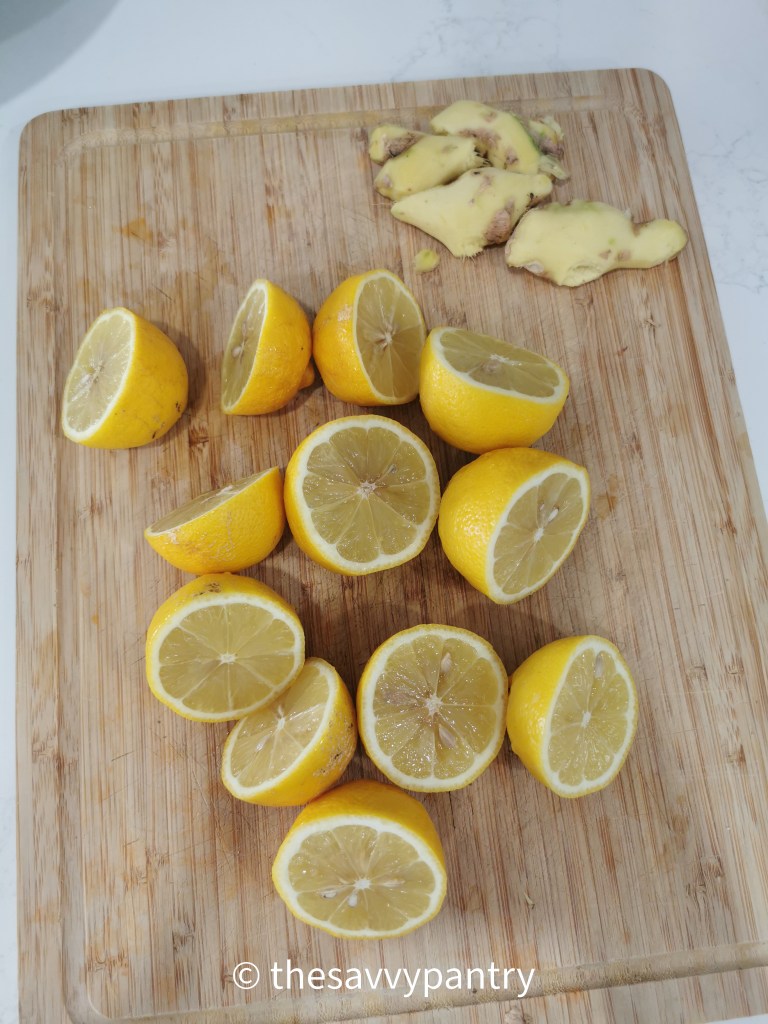
Prepare the lemon: Cut the whole lemons into 4 parts so that it fits into your blender
Prepare the ginger: Peel the ginger and slice into 4 parts – it doesn’t really matter the size as it will all be thrown into a blender. Ginger can have a strong flavor, so feel free to adjust the quantity based on your family’s taste preferences.
Combine and blend: Add the lemon and ginger pieces to a blender, along with about ½ cup of water.
Blend until smooth.
Strain (optional): If you prefer a smoother texture, strain the mixture using a fine mesh sieve to remove any pulp. For kids who might not enjoy the texture, this is a great way to make it more appealing. The straining part can also be done before your freeze into cubes or after, right when you are serving this mixture.
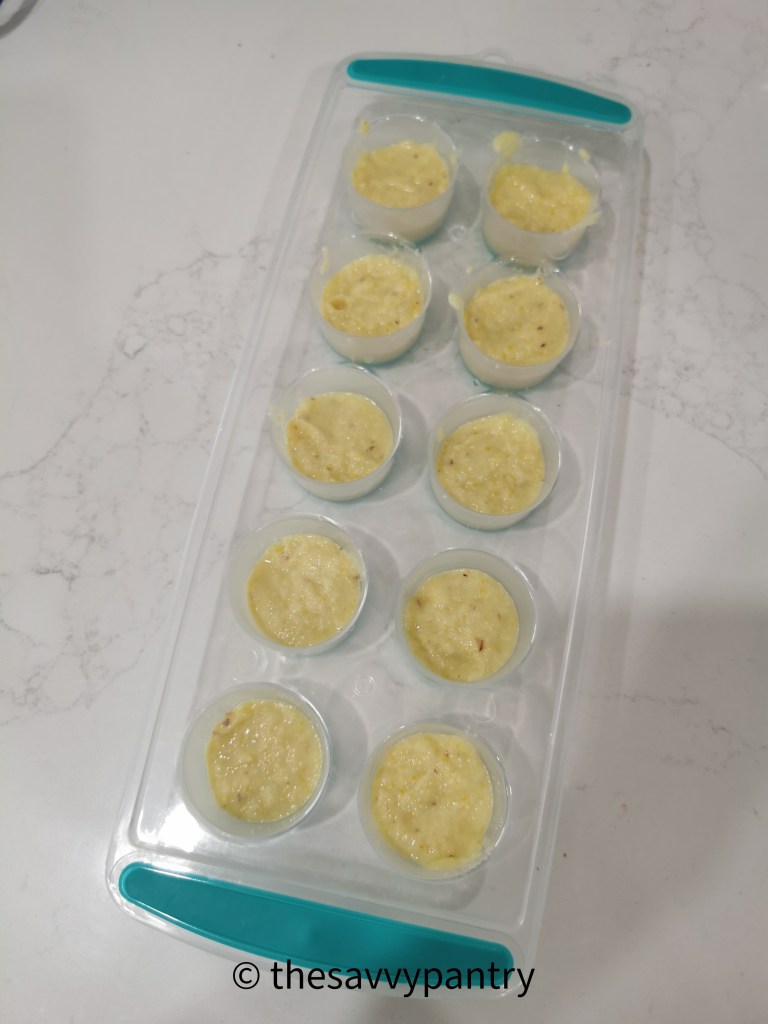
To Store: Using an ice cube tray (I used large round ones that fit about 2 tbsp of mixture), evenly distribute the mixture and freeze.
Serve: When you are feeling sick, boil some water, pop one of these ginger-lemon ice cubes into your glass and pour the boiling water over it so that it melts. You can either drink as is, strain and add sweetner if you like.
Family-Friendly Tips:
For Kids: Dilute the mixture with more water or add it to their favorite tea or juice to mellow the strong flavors. You can also freeze the mixture into fun-shaped ice cubes or popsicles!
For Adults: Take it straight like a quick shot or add it to your morning tea for an extra zing.
Why This Works for the Whole Family
The natural ingredients are gentle and safe for most people, including kids. Both ginger and lemon are known for boosting the immune system without causing any side effects like drowsiness, making them an excellent remedy to incorporate into your family’s daily routine.
This immunity booster can help your family stay healthy throughout winter, offering a simple, natural defense against the common cold and flu.
Storage
I make a big batch and it keeps in my freezer all winter long!
Going to the store to do my weekly grocery shop used to be my alone time where I could spend hours exploring all of the products of various grocery stores on a any given week. I used to not really set myself a budget or a grocery list and would shop till my heart’s content.
Since COVID and having 2 babies, grocery shopping is still my alone time but it looks a little different now adays. I now shop within a schedule and with intention: if I am not utilizing online grocery, then I am limiting myself to 1 store a week, and 2 every other week for a bigger grocery shop. Of course, I now set myself a budget.
Since creating this new routine, I wanted to share my tips on how to beat inflation and stick to a budget when grocery shopping for a family of 4! Check out my video for a grocery haul where I was able to spend under $50 at Real Canadian Superstore and Walmart for the week.
A few things to keep in mind:
In 2022, we spent about $12,000 in total on groceries, which averages to about $1000 a month.
This year, our budget is $600 a month, which I think is still realistic and I will get into why in the next bullet point
Our current budget for restaurants is only about $120 a month; last year we were under budget for this (only spent about $1000 for the year), which is why we overspent in groceries. This year, we plan on utilizing our budget for restaurants more, so we decreased it for groceries.
We consider all consumable goods such as diapers, toilet paper and laundry detergent as part of our grocery bill
We are primarily plant-based at home and our protein sources include tofu, beans and meat-alternatives. I also stock up and freeze when they are on sale so I do not necessarily purchase these on a weekly basis.
I am currently on maternity leave, so my shopping habits are slightly different than when I am working full time
We are a family of 4: 2 adults and 2 under the age of 4. Your budget will look different based on the age of your children and activity level of your family
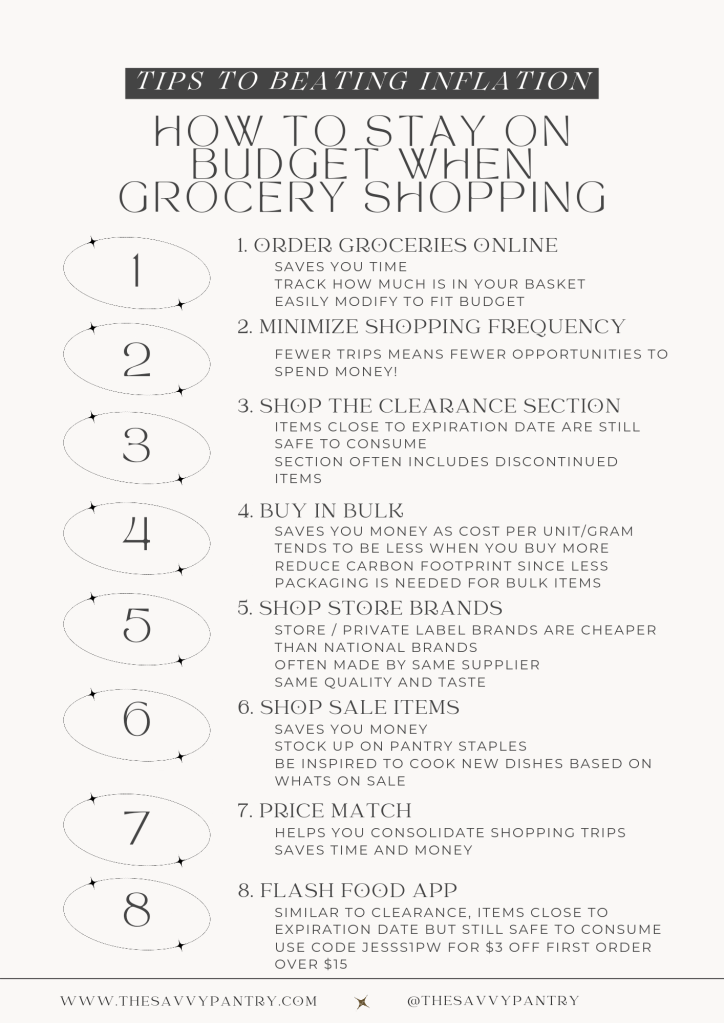
Here are my tips for beating inflation when grocery shopping:
Order Groceries Online – I limit myself to one online grocery order per month and use this as my monthly stock up. I like to utilize online grocery ordering to help keep us in a budget since it’s easier to set a budget and add/delete items according to need and priority. It also saves me so much time since I will slowly add items during the month, and the week of my order, I will check the weekly flyers and adjust my cart accordingly. I budget myself $400 max for my monthly pantry stock up, giving me a remaining $200 for the next 3 weeks on smaller stock up trips. I mainly shop at www.walmart.ca for all of my online grocery needs.
Minimize how often you shop – as mentioned, I limit myself to 1 trip a week and 2 trips in the week where I have to do our monthly stock up. This is an easy way to keep me on budget and more manageable since I know I get to spend roughly $60 that week on that trip. Keep in mind that the fewer trips to the store you make, the fewer opportunity there are to spend money and go over budget!
Don’t be afraid of the clearance section – half of the time, the clearance section has items that are almost about the be expired but still good to consume that week (or frozen for a later use). The other half of the time, the clearance section will contain products that have been discontinued by the store so they need to clear it out to make room for new product, however its best before and expiration dates are still well into the future.
Buy in Bulk – when you buy in bulk, the cost per unit/gram ends up being cheaper than when buying the smaller format. You are also reducing your carbon footprint by purchasing in bulk since there is less package being used per unit/gram of that item. I do recommend only purchasing in bulk on items that you consume regularly or that have a longer shelf life to reduce any potential food waste.
Shop store brands – store brands are usually made from larger national brand just with a different labeling on top. You can save money by shopping store/private label brands without sacrificing on quality or taste! At RCSS and No Frills, I like their naturally imperfect produce since you can get a large amount for a cheap price. Walmart’s Great Value brand has lots of great pantry items and I always buy this brand when doing my pantry stock up on flours, spices and snacks.
Shop what’s on sale. My boys go through berries like little monsters and if I purchased them every week without looking to see what’s on sale, that means I could be buying a pint of blueberries for over $7! Since I limit our berry intake to what’s on sale, I can easily save 50% of normal retail value when shopping only what’s on sale. I also love finding meal inspiration based on what produce is available and on sale that week and this also ensures that my family is getting a variety of nutrition by changing it up every week!
Price Match – most retailers have a list of stores they are willing to price match from and usually have a maximum quantity that you can price match, however I highly recommend utilizing apps like Flipp to search items that you can easily price match. This will save you time by consolidating your shopping trips as well as money by keeping you on track for your budget.
Flash Food App – I love this app because it allows me to research clearance items before hand and stock up where I can! For example, whenever I see that there is medium to firm tofu available on this app, usually it is listed for $1 when regular retail is over $3. I am able to save over 66% by shopping our protein staples and freezing them so that they are always available on hand. This means that on a monthly basis, I may not even need to replenish our plant-based proteins because I already have a well stocked reserve in the freezer. Use code JESSS1PW for $3 off your first order over $15
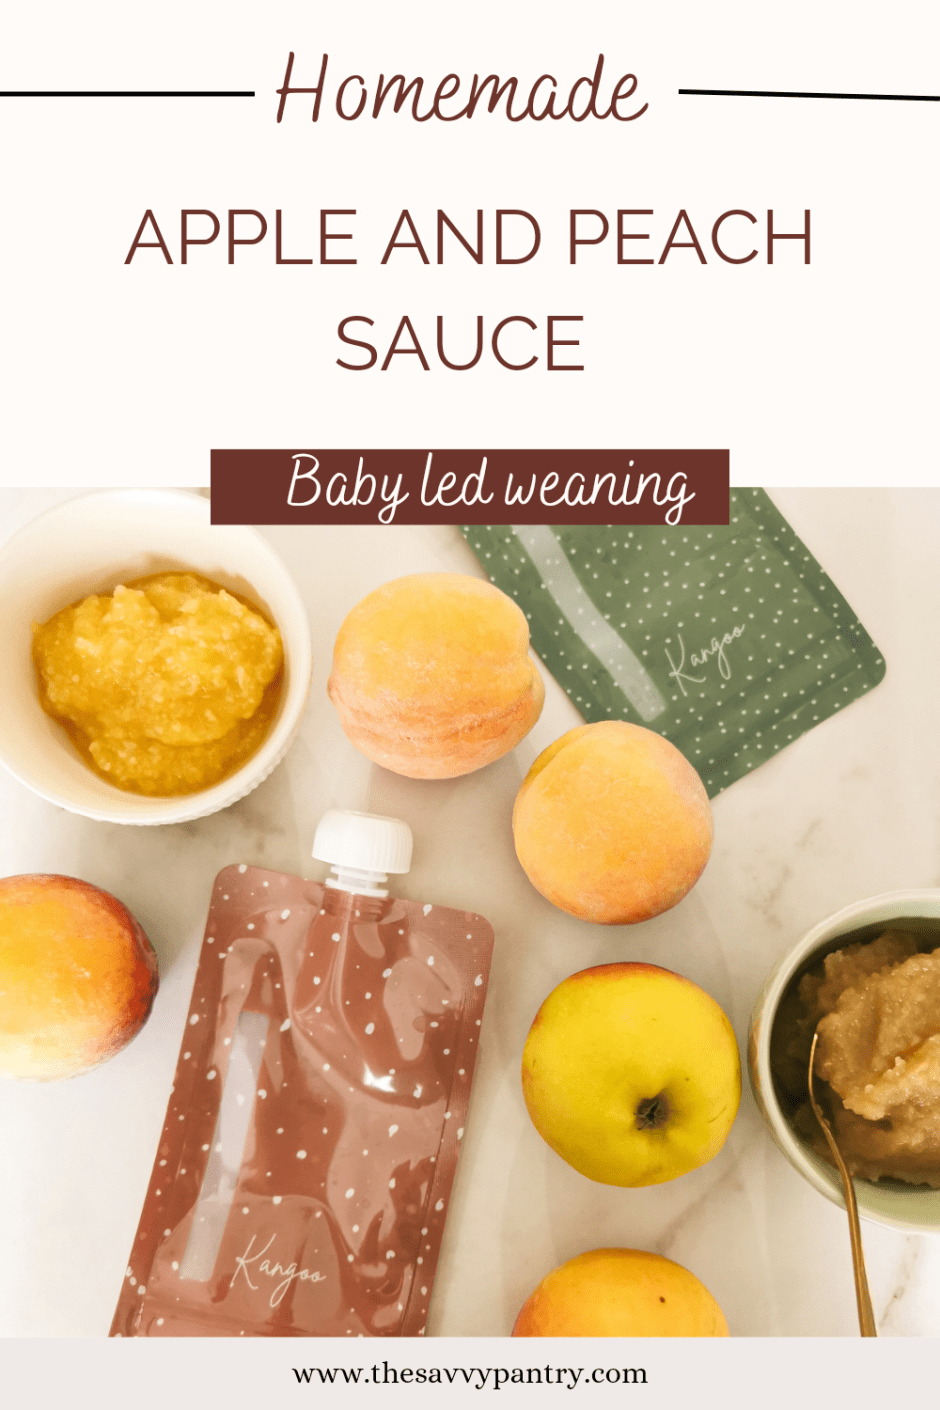
I have always wanted to purchase reusable food pouches since they are a more eco-friendly way to serve pureed fruits to my little ones. My littles love having fruit pouches (like apple sauce) but I try to limit their intake of these convenient foods for when we travel so that I can limit our waste when snacking. I finally got my hands on some reusable ones from Kangoo et Cie! I love that these pouches come in cute patterns, are easy to fill and of course are reusable. They are also BPA-free, PVC-free, phthalates-free and lead-free food grade plastic making it safe for my family.
I made a basic apple sauce puree with cinnamon as well as an apple, peach and cauliflower puree for added veggies! Check out the below for the recipes. I also froze them in ice cube trays in the shape of cylinders making it easy to add and defrost in the fruit pouches for on the go! These recipes are also perfect for baby led weaning!
I look forward to making more combinations of fruit purees and will be posting recipes in the future. Comment below on what your favourite purees are!
Now set forth and be savvy!
~makes 4-6 portions, depending on how large your apples are and how full you fill your pouches
Ingredients
4 apples, any kind – peeled, cored and diced
2 tbsp water
1 tsp cinnamon
~makes 4-6 portions, depending on how large your apples are and how full you fill your pouches
Ingredients
4 apples, any kind – peeled, cored and diced
4 peaches, peeled, pitted and diced
½ cup frozen cauliflower florets
2 tbsp water
Directions (same for both purees)
Add all ingredients to a medium sized pot on high heat
As soon as the water comes to a boil, turn the heat down to medium and let simmer until the ingredients are fork tender, about 7 minutes
Blend in a food processor until desired consistency is reached. I like to pulse it since my boys like the purees on the chunky side
When cooled, store in the fridge for up to 3 days.
I like to freeze in ice cube trays in the shape of cylinders so that I can easily fill the fruit pouches – about 3 cylinders fit each fruit pouch
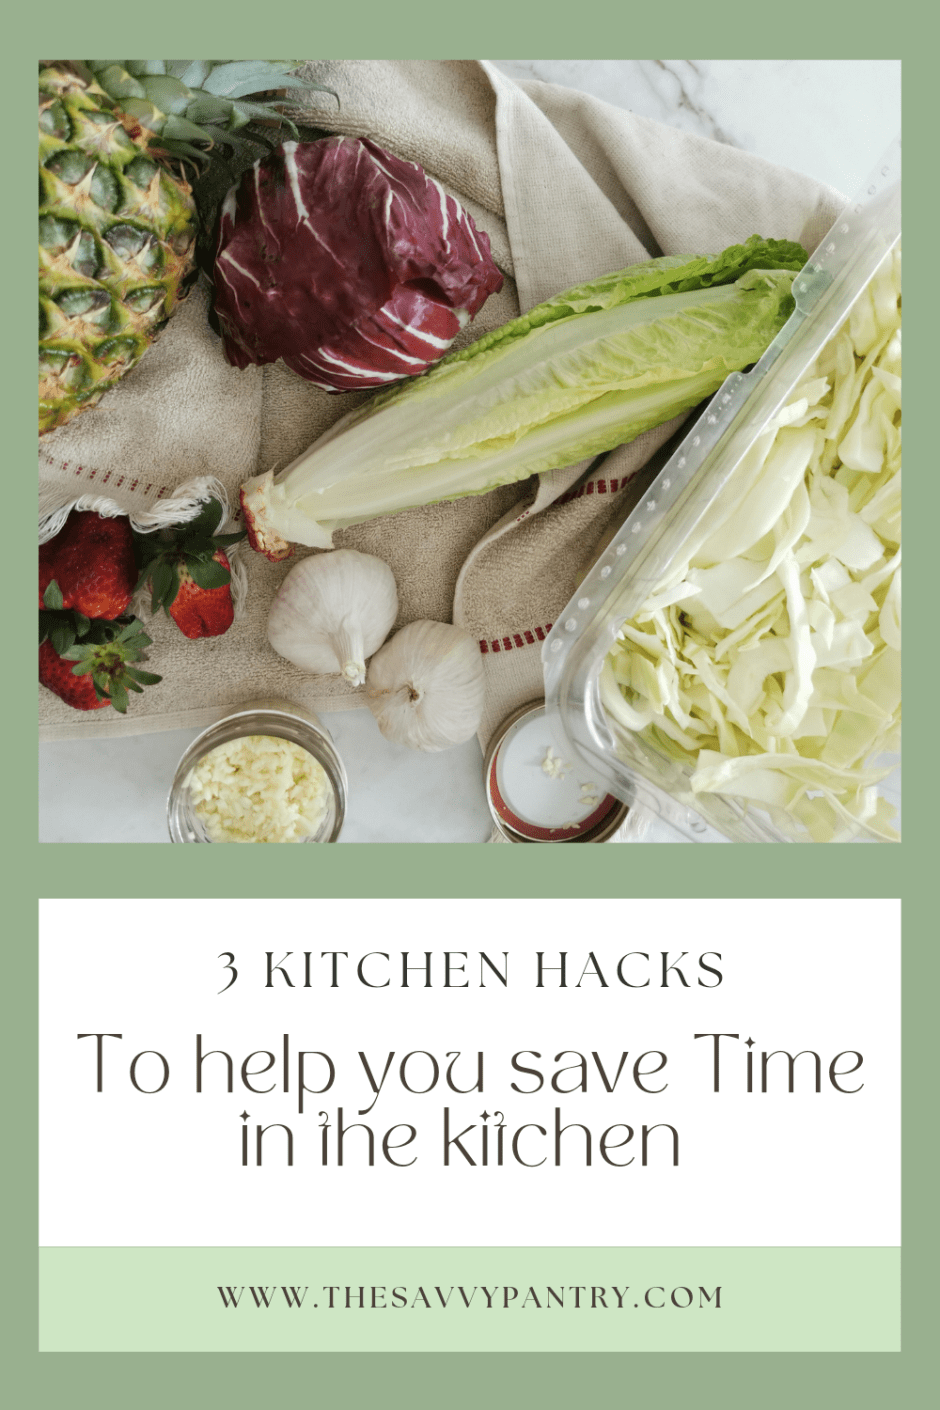
I though I was a pro at food and meal prep before having kids, spending about 15 hours on the weekend meal prepping for the week for only my husband and myself. However, since becoming a mother of 2, I have mastered the art of meal and food prep and have become more productive with my time! I am more efficient, am still able to make nutrient packed meals and still have time to spend with the family. Here are my 3 kitchen hacks that I use on a weekly basis to help me save time in the kitchen!
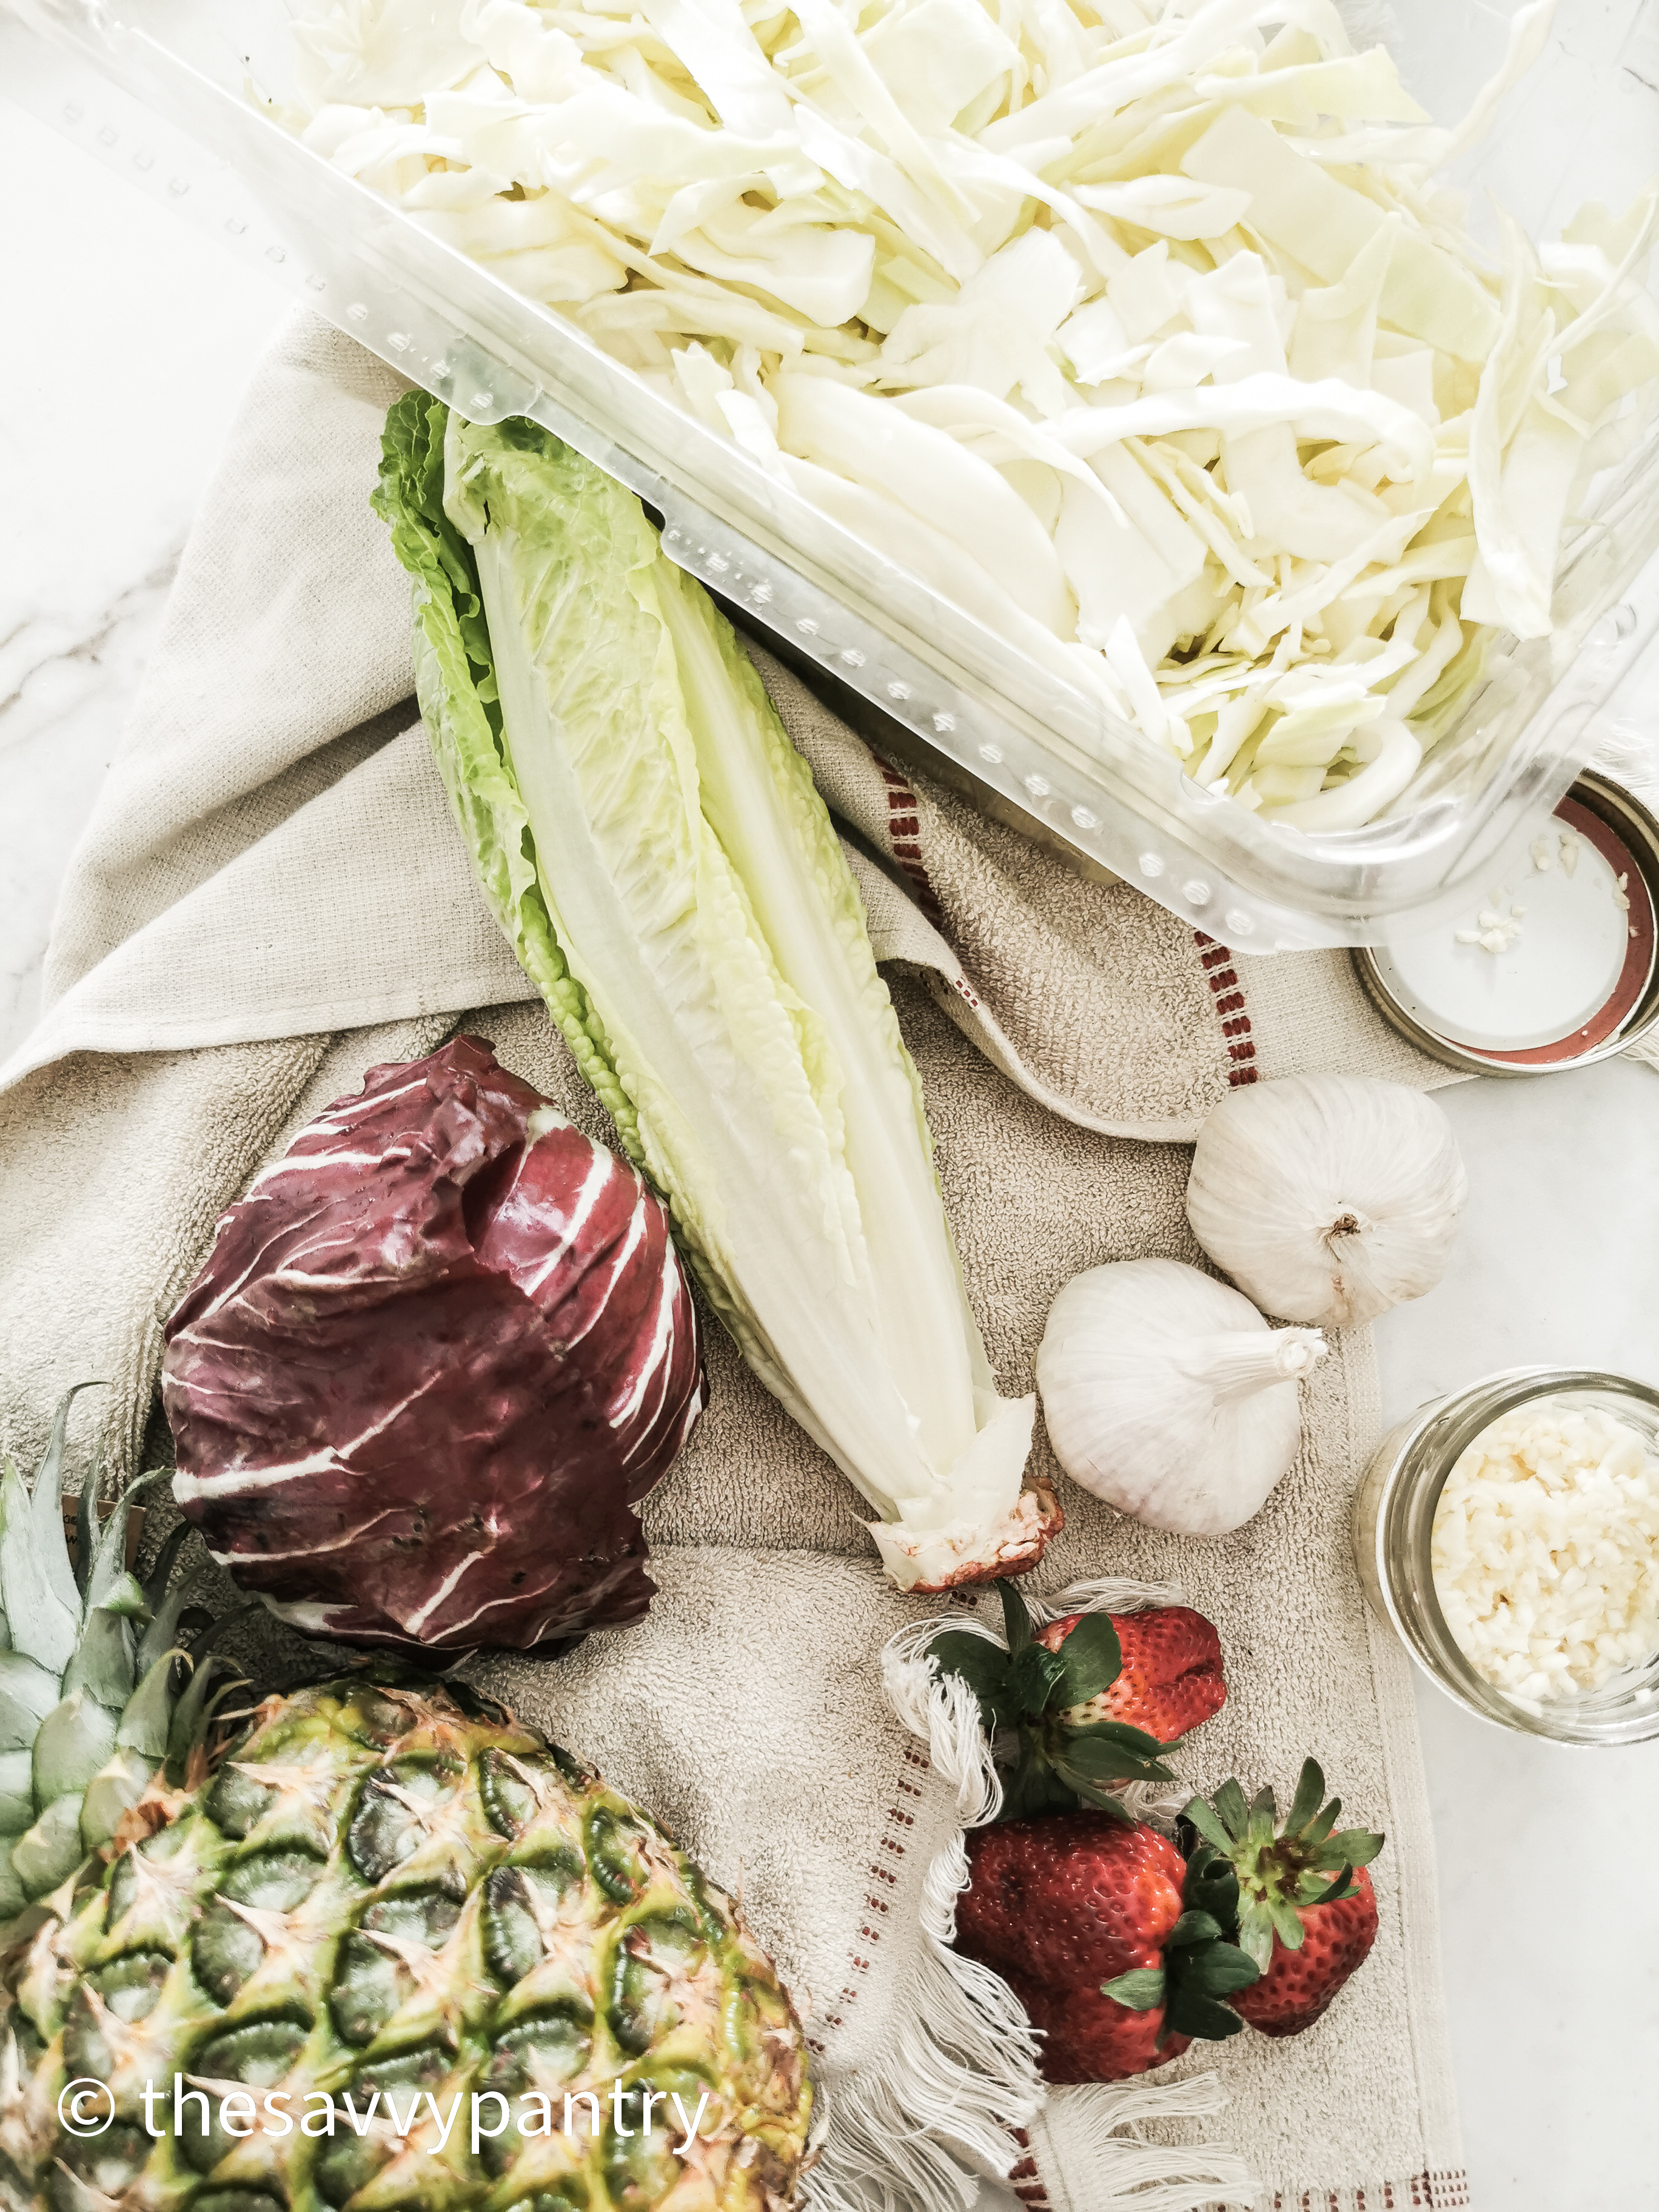
Wash all of your leafy greens
In our household, we always have bok choy, cabbage, lettuce and other leafy greens on hand for salads and stir frys. To ensure that our greens are not going to waste and actually ending up in our weekly meal rotation, I wash and cut all of my leafy greens as soon as I get home from the grocery store. I spin dry them in a salad spinner and chop them up so it’s easy to add to any dish. A brilliant hack I have is to reuse salad containers to store your washed produce in! Not only are you reusing something that would have most likely ended up in the landfill, but it’s also the perfect size, already made to fit your fridge!
Wash and prep all of your fruit
My family always has fresh berries on hand. To ensure their shelf life and easy access for the little ones, I wash soak them in a water and vinegar solution for 10 minutes before air drying them for half the day. Once they are dry, I store them in containers in the fridge so it’s easy to add to our oatmeal breakfasts and to the kids’ plates for meals. I also ensure that I chop up any fruit like melons or pineapple to ensure that I can save time when looking for a quick snack for the kids or to add to smoothies.
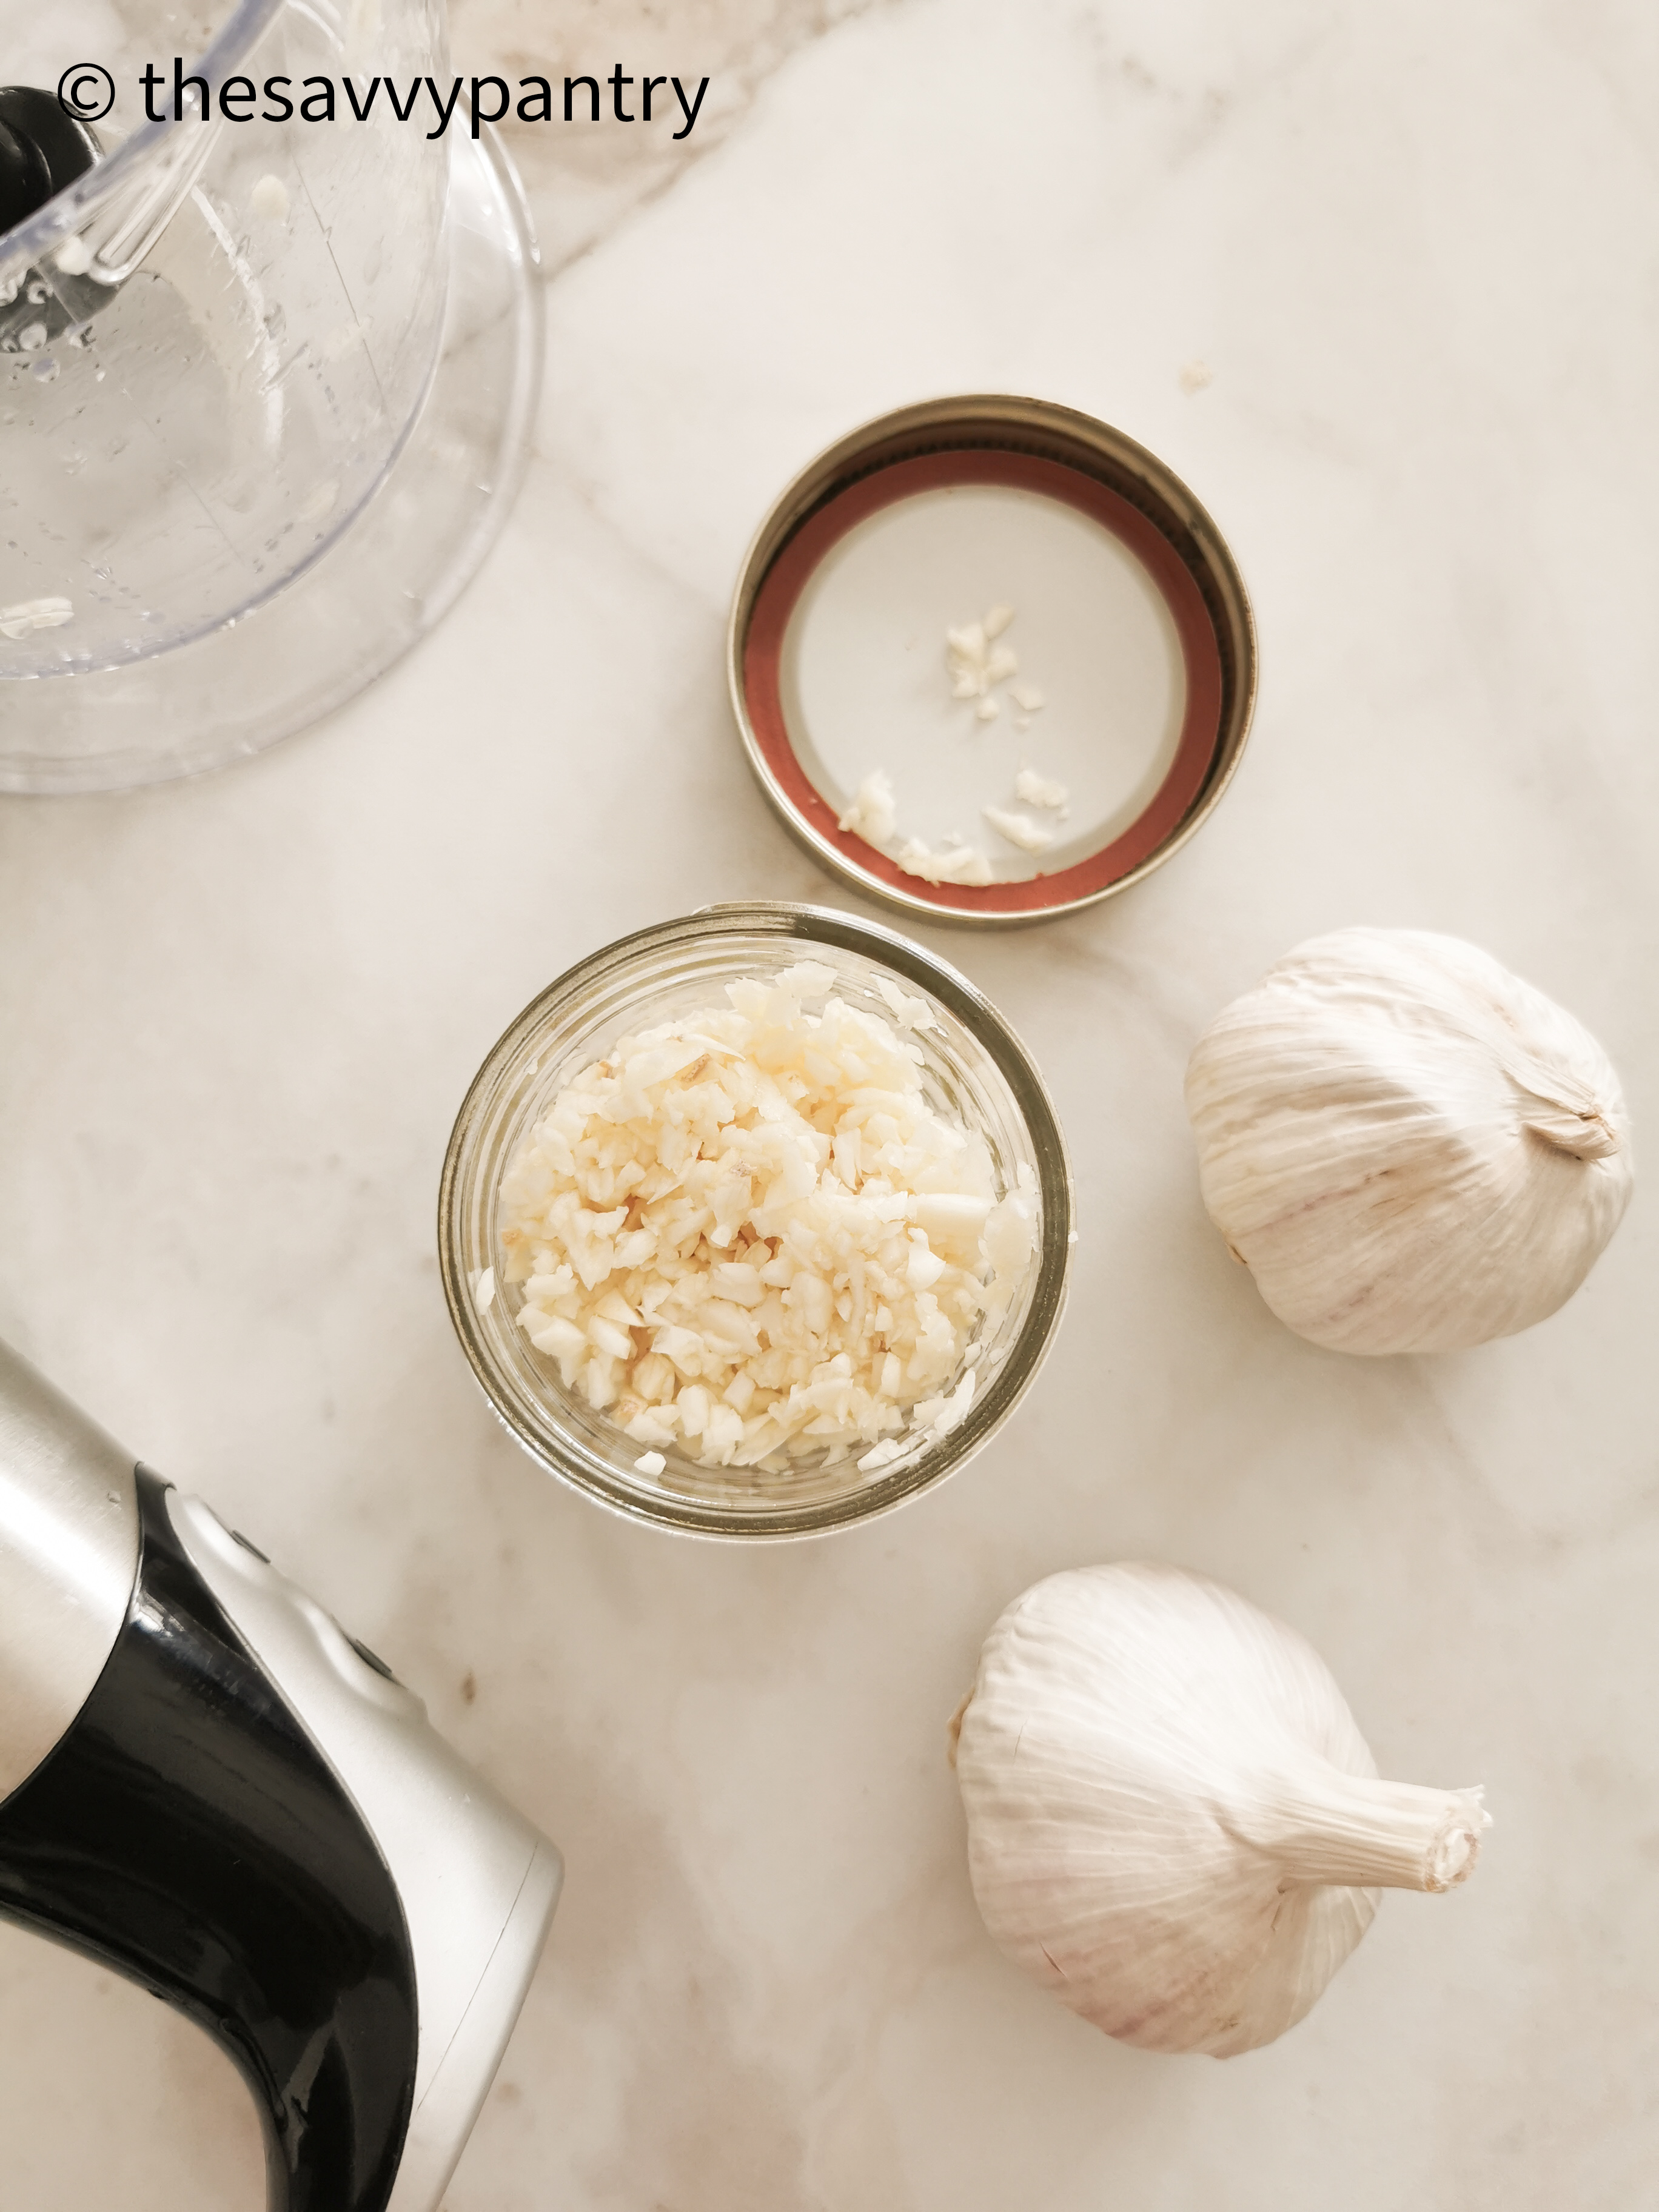
Prep minced garlic, onion and ginger
Because we cook the majority of our meals from scratch, I use a lot of garlic. To save me time in the kitchen, at the beginning of every week, I will add all of the cloves of garlic of an entire heave of garlic to a mini food processor and process until finely chopped. Then I store it in a small mason jar in the fridge so it’s ready to go. This saves me so much time when I am whipping up a weeknight meal. You can prep onion and ginger in the same way. Since I don’t go through ginger as quickly, I like to store them in ice cube trays in the freezer so that I can take out small portions as needed.
I hope you guys find these tips useful in your kitchen! Comment below on any hacks that you use in your kitchen that you would like to share!
My son is now 6 months old and I feel like I’ve gotten into a groove with taking care of him. Before my son was born, I was very adamant in being as zero waste as possible with raising him. Some things did take a bit of researching and creativity, but I really feel like we’ve established a really good routine.
To be honest, when he was first born, implementing some of these solutions was quite intimidating and was also learned through trial and error. I thought I would create a blog post (and video!) to share what I have learned so far and to show you that you can raise your family with eco friendly alternatives as well! Feel free to comment below on what types of eco friendly solutions you have implemented and if there are other things that you would recommend!
Preparing for the birth of our son included washing all of his clothes and organizing his closet. It was very overwhelming since baby clothes come in so many different sizes and it was hard to determine how many onsies we needed per size, of course considering the weather and climate as well. Though it may be really easy to overspend in this category by buying cute clothing as soon as you find out that you’re expecting, I really refrained from purchasing clothing until the very end since styles are constantly changing and I also wanted to ensure I was purchasing gender neutral clothing so that we can use them for future children, or give it away with ease when we were done.
My main tip for this category is to ask for hand me downs! Babies, especially in the first few months, don’t really need nice clothing since they will be spitting up or pooping all over them. If you are lucky like I was, we had lots of friends and family handing over lots of hand me downs in various sizes. It was really convenient because I only had to purchase a few new onsies (because of COVID, we were social distancing and wasn’t able to get a hold of all of the hand me downs before the birth), which meant we were also able to save a lot of money for more essential items.
If you do not know anyone who is able to pass along some hand me downs, there are lots of facebook groups for new moms who always post free items, including clothing, thus giving a new life to those pre-loved onsies. What I’ve learned so far is that these mommy groups have very generous members who are always willing to help locate anything you need. If you are unable to find free hand me downs, you can always check out facebook marketplace or thrift stores – there are always an abundance of pre-loved clothing available for your little one.
We were also fortunate to have a closet full of pre-loved baby clothing available at our midwife clinic – so don’t forget to check out your clinic where available!
I have a previous post where I go through in detail about our experience with cloth diapering. Check it out and don’t forget to check out the video where I go into detail!
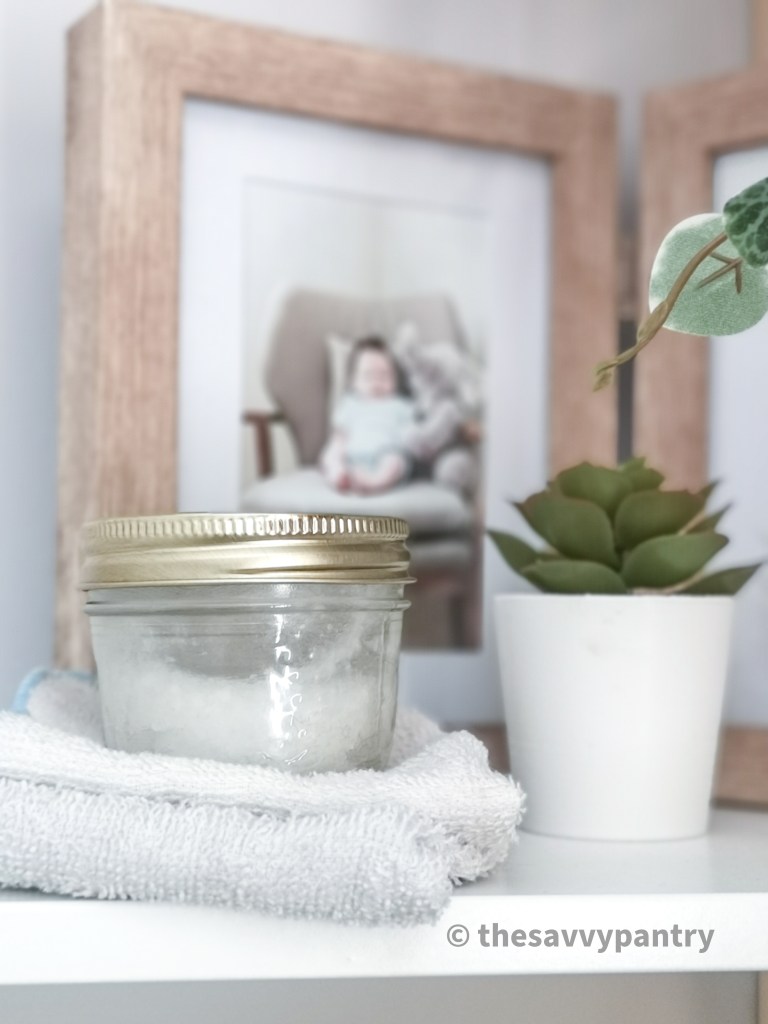
We were so devastated when Ezra developed a diaper rash when he was only 1 month old! We were trying to be diligent by always ensuring his bottom was dry before diapering him up but it ended up being unavoidable. After doing some research, diaper rash can actually be preventable by applying coconut oil after every diaper change. It’s been 5 months now and he has not experienced a rash ever since! We like to keep a jar of organic coconut oil by his change table and diligently apply it all over his bottom after every change. It keeps his bottom moisturized while creating a barrier from his dirty diaper.
There has been some media attention around how wipes do not decompose and can be hazardous when flushed down the toilet since they don’t break down like toilet paper. Every time you change your baby, you will be using minimum 1 wipe per change. That is a lot of wipes going to landfills in your baby’s lifetime! If you are going to be cloth diapering your baby, using cloth baby wipes should go hand in hand. (also if you are not cloth diapering, consider using cloth baby wipes as well since it’s better for their bottom and the environment!)
Besides being better for the environment, there are added benefits to making the switch as well. One of the more obvious ones is that you will be saving lots of money in the long run. Another benefit that we actually noticed was the smell it leaves behind. We use baby wipes when we are away from the house and noticed that it leaves a smell on our baby’s bum, even if the solution is 99.9% water. When we use our wash cloths, it doesn’t leave any smell at all. It’s also convenient to use because we throw it into the same laundry as our cloth diapers and everything gets washed at the same time! You can use cotton wash cloths or even use old cotton shirts that you can cut into little squares. We don’t use a special solution when cleaning our baby’s bum and have found that water has been just as effective.
I knew that I wanted to breast feed and knew that I wanted to pump milk so that my husband can feed Ezra and bond with him as well. To be honest, I had put off pumping and bottle feeding for over 3 months because I couldn’t get myself to use the single use plastic storage bags. I made a goal for myself to find a more sustainable yet budget friendly way of storing extra breast milk. Then it occurred to me that I could use silicone ice cube trays and store the milk in reusable silicone bags. This method is perfect and super easy because each cube fits about 10ml of breast milk and can be easily placed into the bottles for thawing. All you need to do is take out how ever many cubes you need for the feeding. I do recommend this for when your baby is over 3 months since I was unable to sterilize the trays or the silicone bags, and since baby is already putting toys and stuff in his mouth, then this method has been proven to be effective and safe!
Note that I only pump to have a few ounces in the freezer at a time, but f you pump more, I recommend having multiple silicone bags and labeling them so you can keep track of the milk and rotate accordingly.
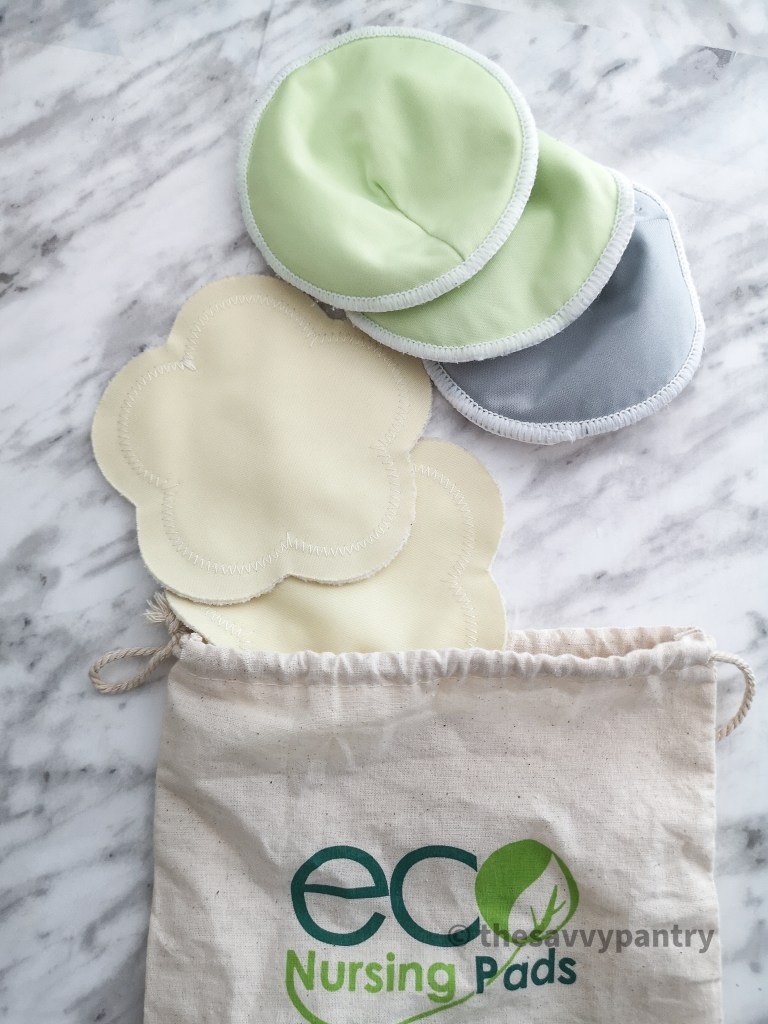
Breast pads are a must if you are breastfeeding. I didn’t know that once your milk comes in, your breasts go through a transitional period where it’s figuring out supply and demand from your baby, which causes a lot of leaky boobs not only when you are feeding, but even when you are just thinking of your babe. In addition to having a nursing bra, you will also need some nursing pads. You can always buy disposable ones, but for the same price of a box, you can buy multiple sets of reusable pads and divert more waste from the landfill. The pads I received were a gift and made from bamboo, however you can easily find reusable pads from a quick google search.
Raising a family doesn’t mean you have to take the conventional route and purchase disposable products that are readily available on the market. The amount of waste that a baby produces can be overwhelming and reason enough to make eco friendly switches. I am glad that I was able to reduce a lot of the waste our family created by using reusable products that can be used for future babies as well!
Let me know in the comments below what your zero waste tips are and if there was anything that I missed!
Before we knew that we were even pregnant with Ezra, we knew that I wanted to cloth diaper our babies since it is the most environmentally friendly option available. My mom had cloth diapered us when we were growing up so I knew that it was a tradition I wanted to continue. If cloth diapering seems to be daunting to you but you still want to find a more sustainable option, there are other options available such as biodegradable diapers, however since this would require us to purchase these on a regular basis, I also wanted an option that was going to give us the biggest bang for our buck.
After some research and comparisons, I was happy to confirm for myself that cloth diapering not only is more environmentally friendly, but it will be the cheaper option for my family in the long run, especially if we plan to have more children. See below for the full cost breakdown and for more information on our experience.
How much money do you actually save?
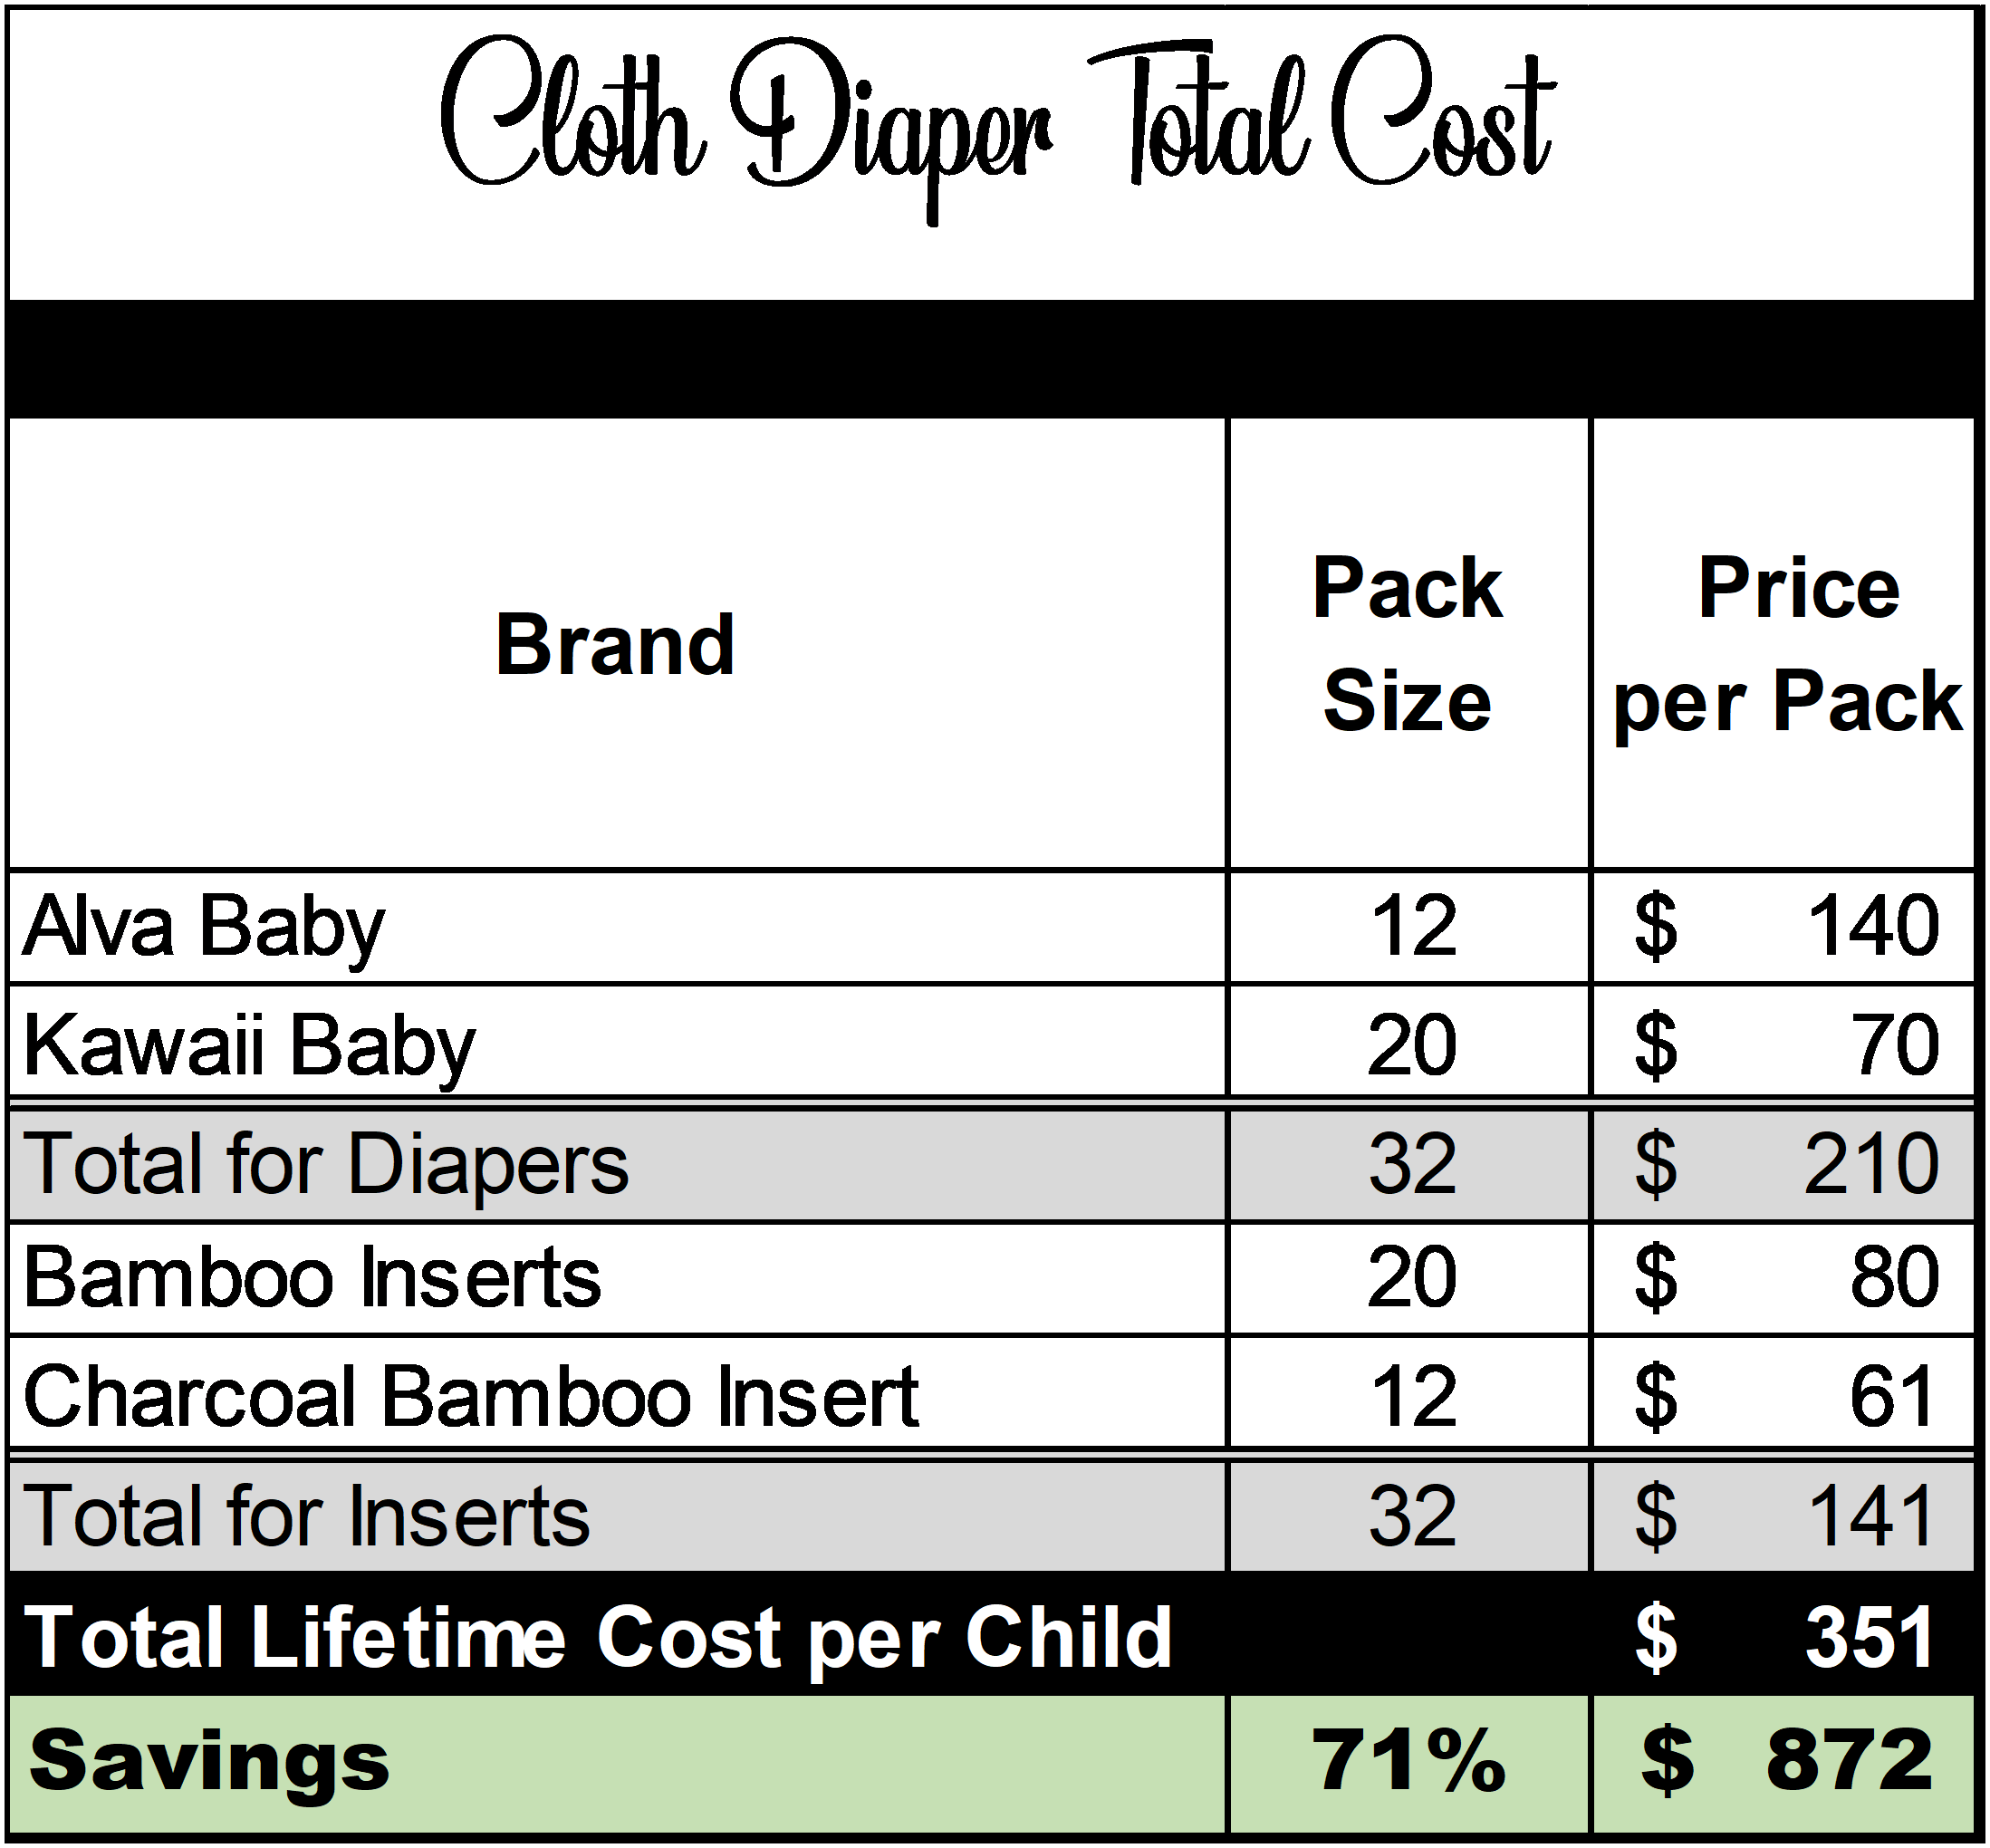
This all depends on what type of diaper you end up using in the end. For my calculations, since we decided to go with pocket diapers, my calculations are based on this type of diaper.
See the charts above! Based on my conservative calculations, you end up saving almost $900 per child, however that doesn’t take into account the amount of diapers you are diverting from the landfills! The savings can be even larger if you purchase second hand reusable diapers, or if you have them gifted from your gift registry, so do keep that in mind as well.
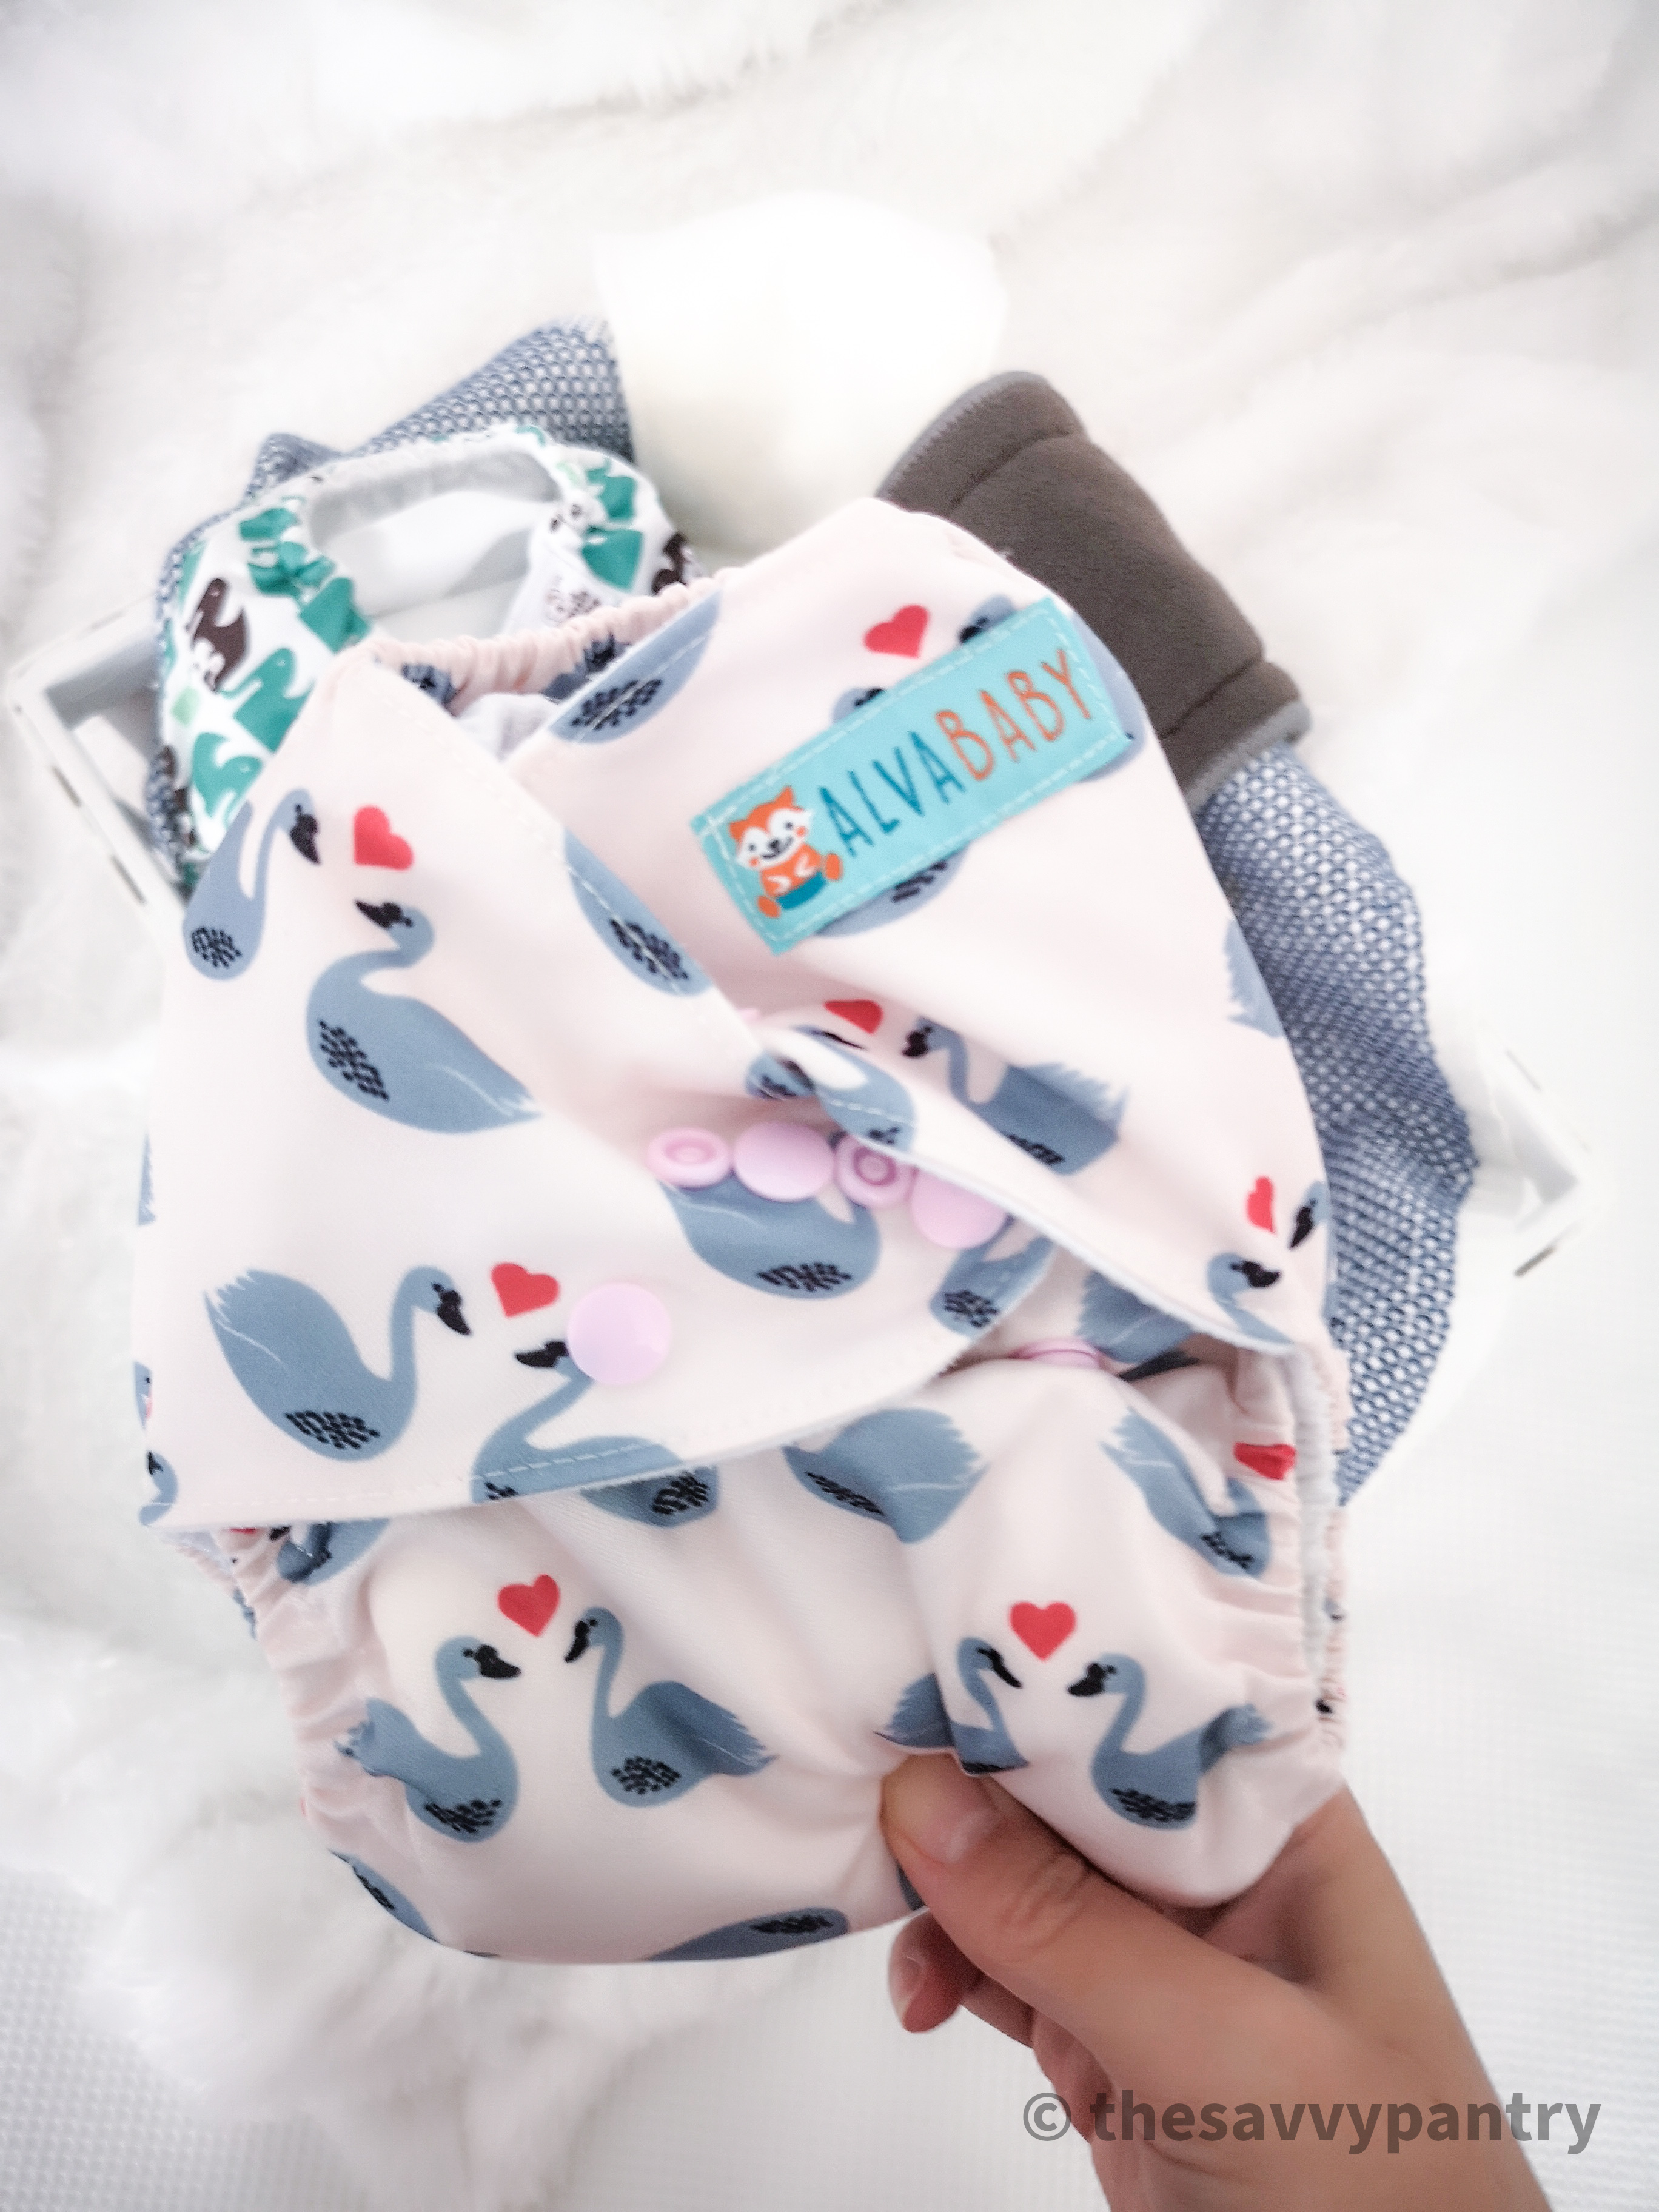
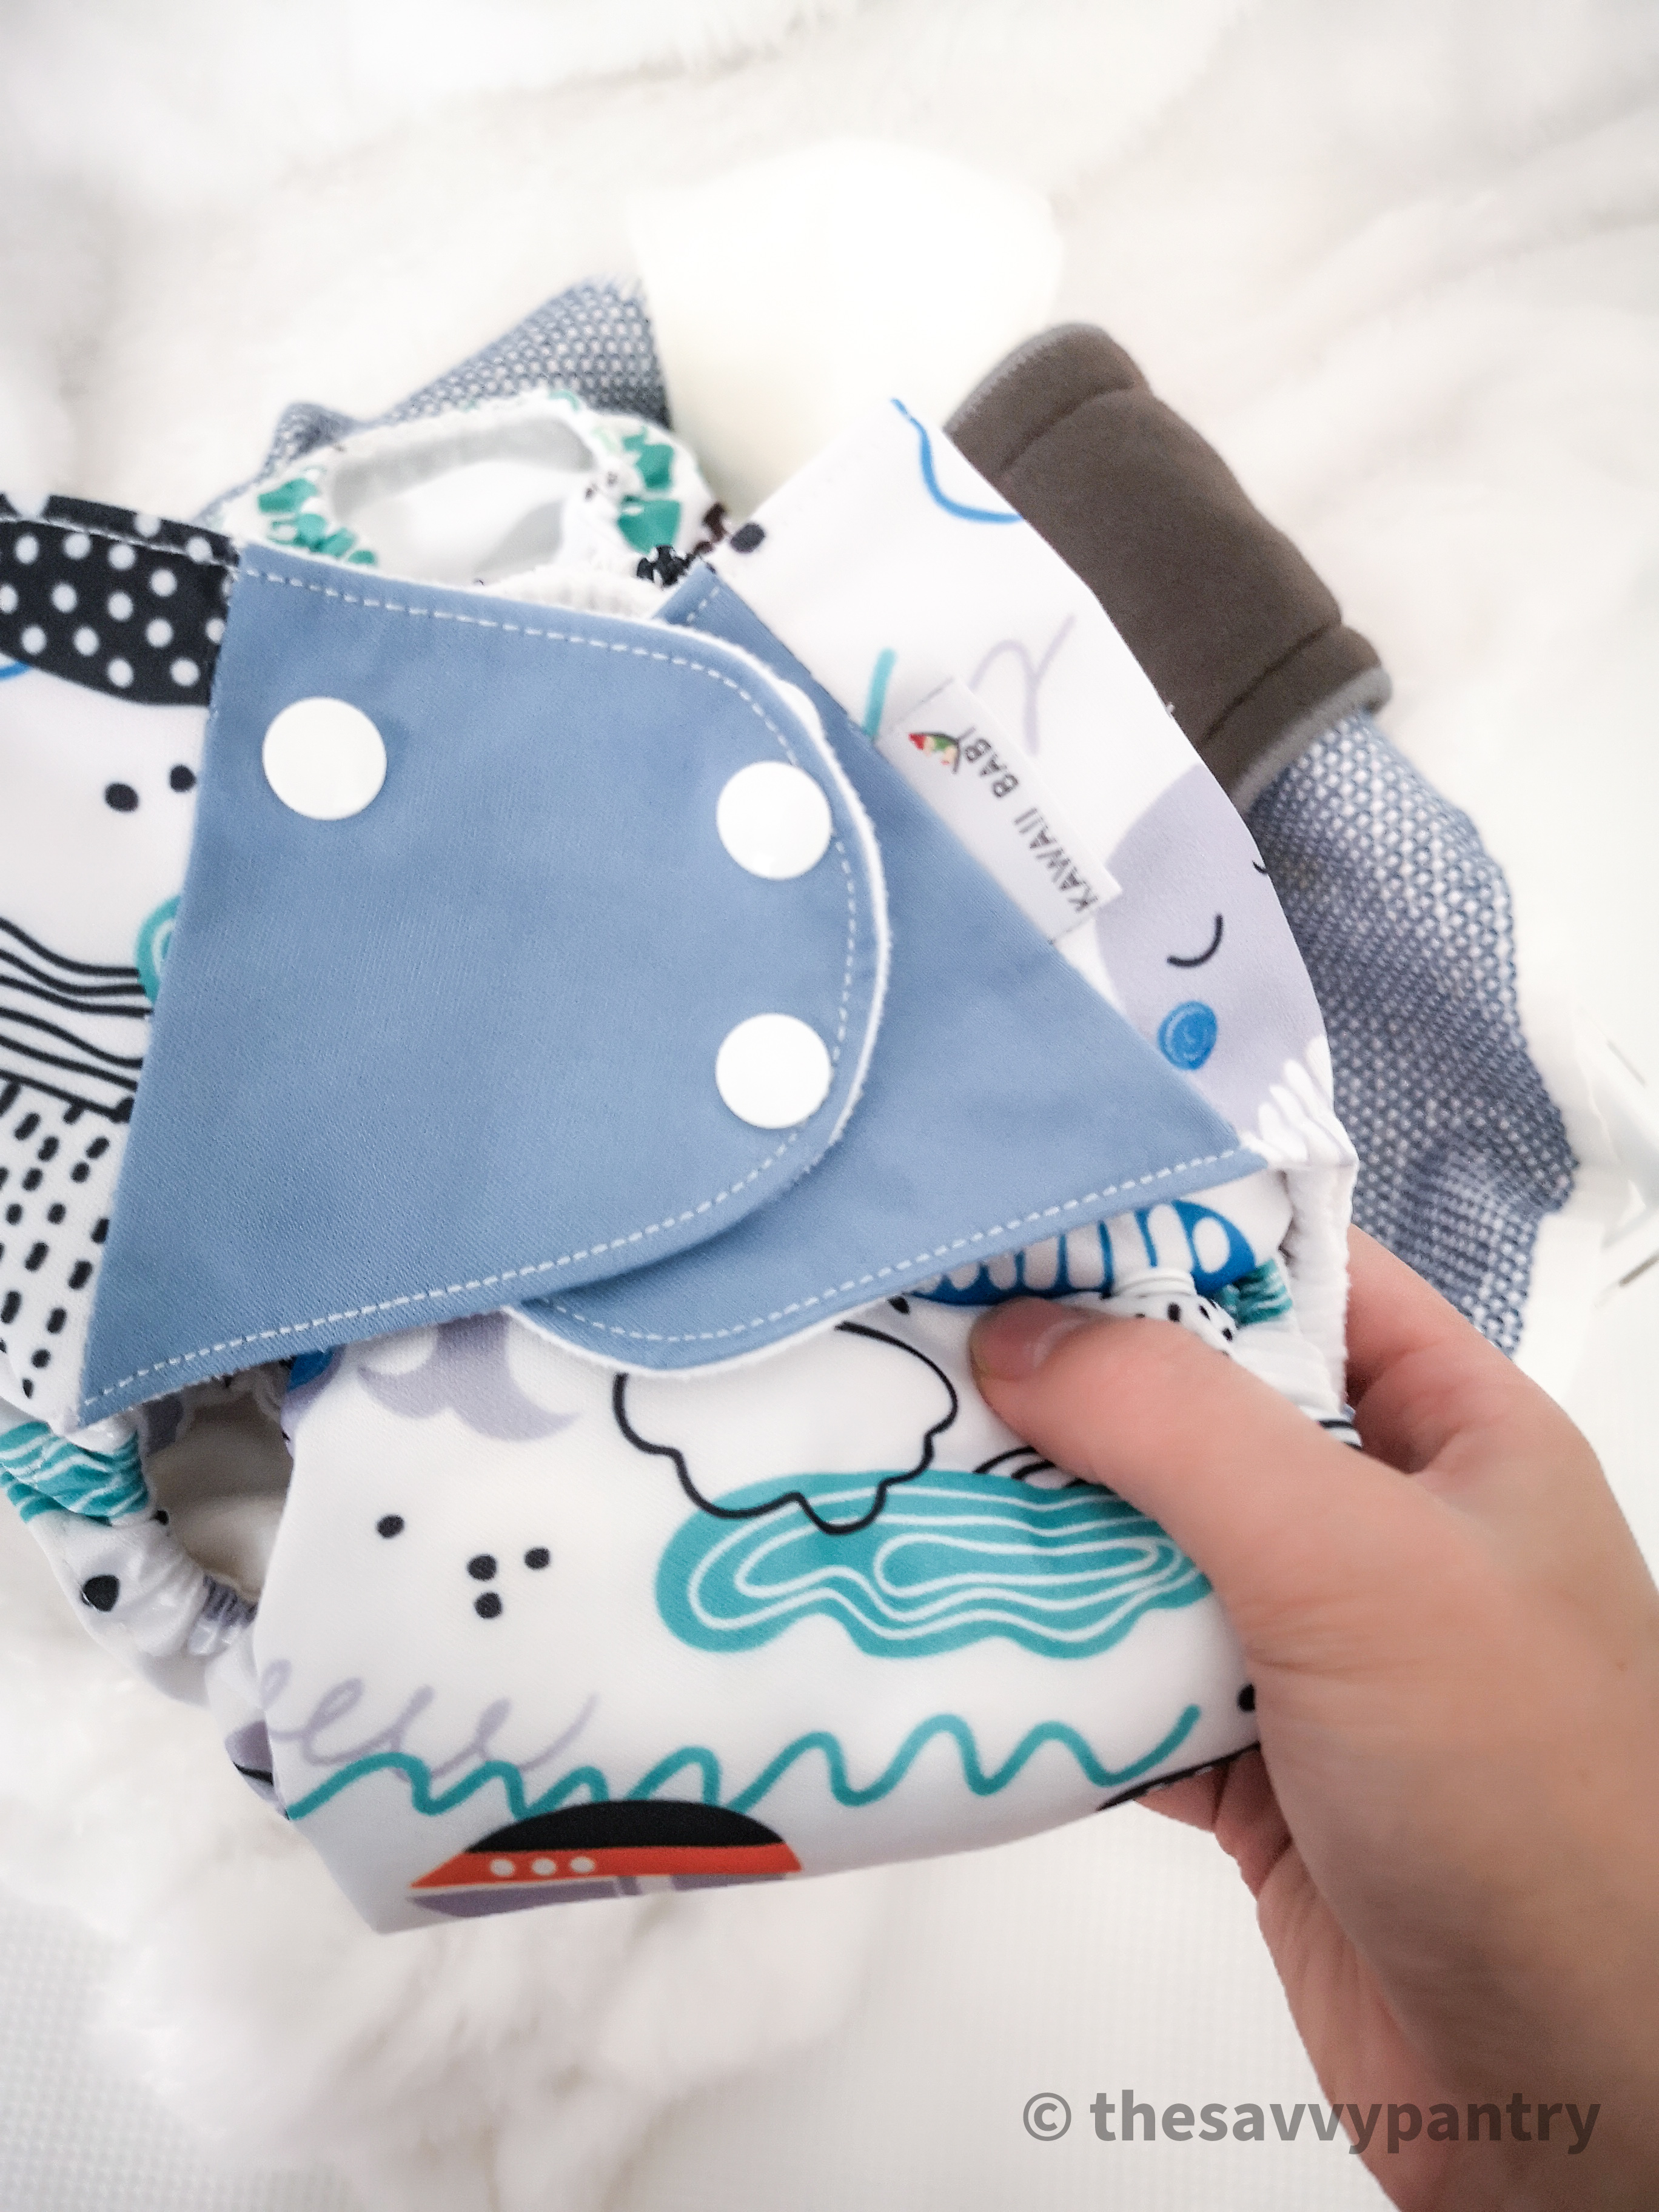
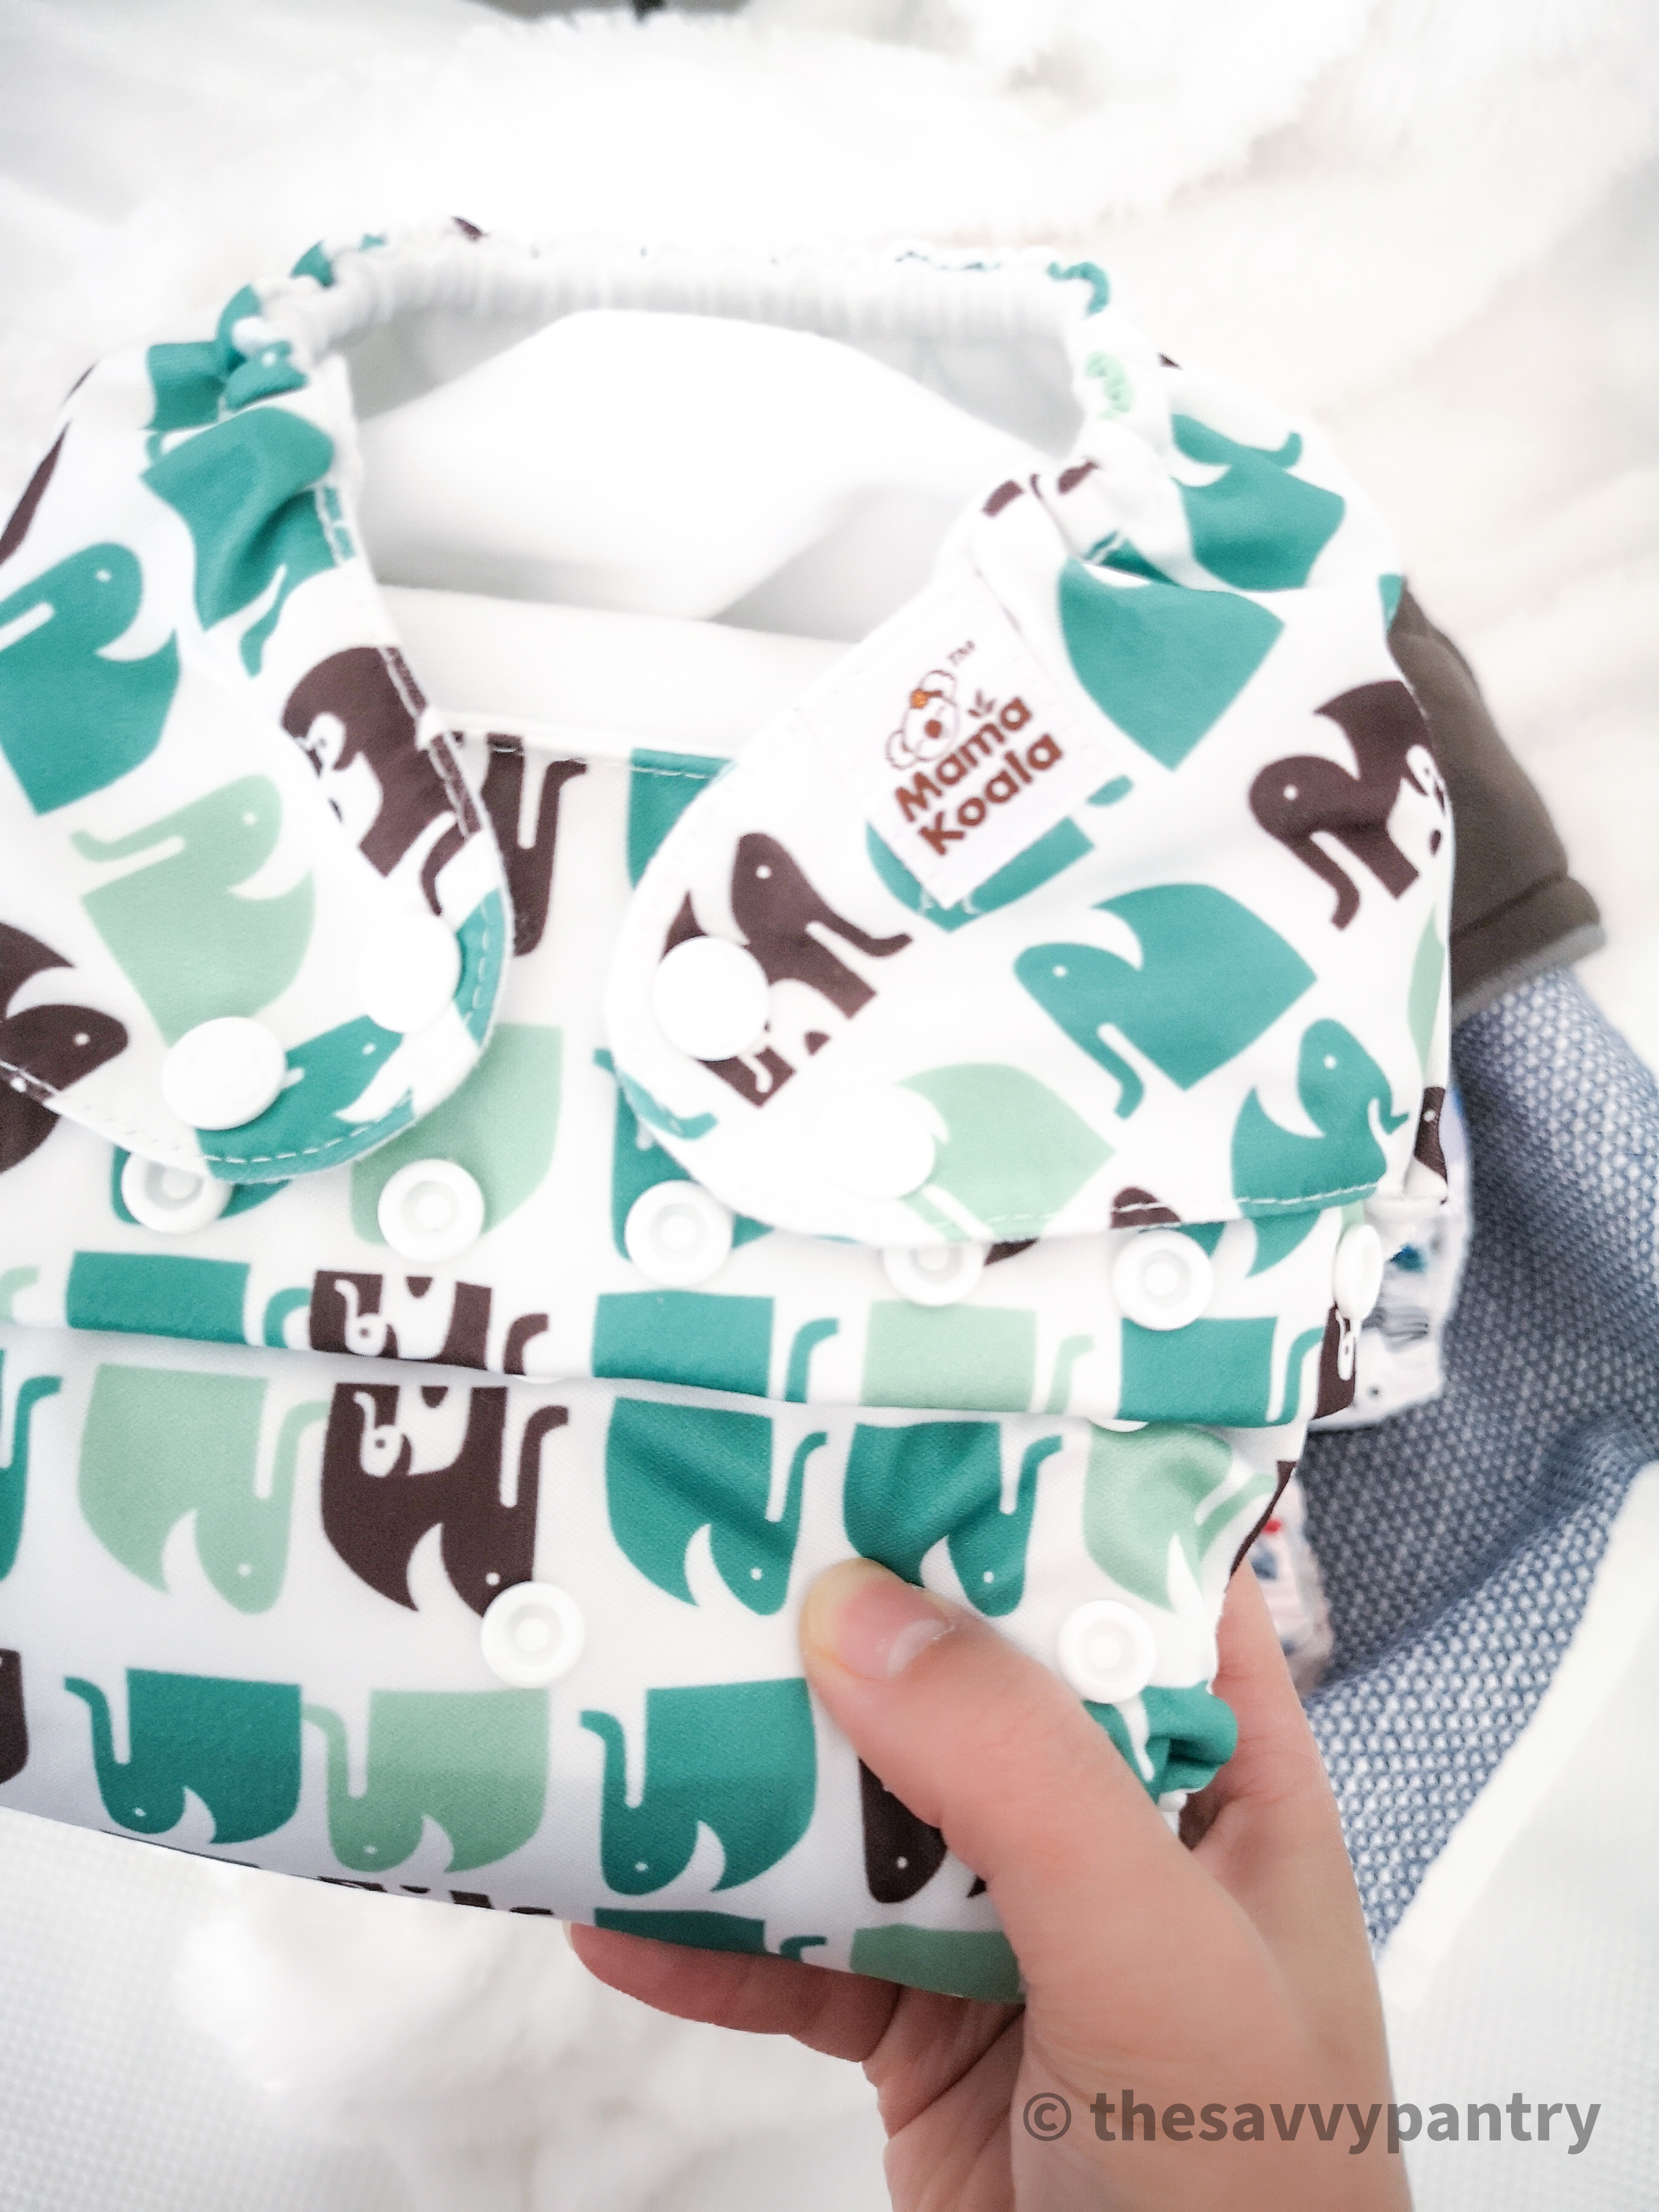
Pockets, flats, prefolds: which cloth diaper should we use?
I was so overwhelmed with all of the choices when I was researching which would be best for our family. Personally, the pocket diapers ended up being the easiest to use because you just have to tuck the insert into the pocket and fasten the diaper onto your baby. You don’t need to be a wizard at origami or worry about not folding them properly, which was an added benefit for us.
When researching, I did come across recommendations to try different brands since they could fit differently on your baby. Generally, they all do fit pretty much the same, but read the reviews because some brands are larger and some smaller, which can have added benefits for fit with a newborn (more on that below).
The 3 brands that we have are Alva baby, Koala Mama and Kawaii. We found that Kawaii fit the best on our baby, followed by Alva and then Koala Mama.
How many cloth diapers do I need?
Newborns (0-3 months) will need on the high end 12 diapers a day, so you will need to calculate how many diapers you need for that. If you plan on only cloth diapering when they’re a bit bigger (and can fit into the cloth diaper better), then you may need less, like 8-10 diapers a day.
In the end, it really depends on how often you want to do laundry. For us, we do laundry every day and found that 38 diapers work well for us and we can easily skip a day of laundry if necessary. You may need more or less. Keep in mind that you may also want to look into purchasing extra inserts for doubling up for overnights.
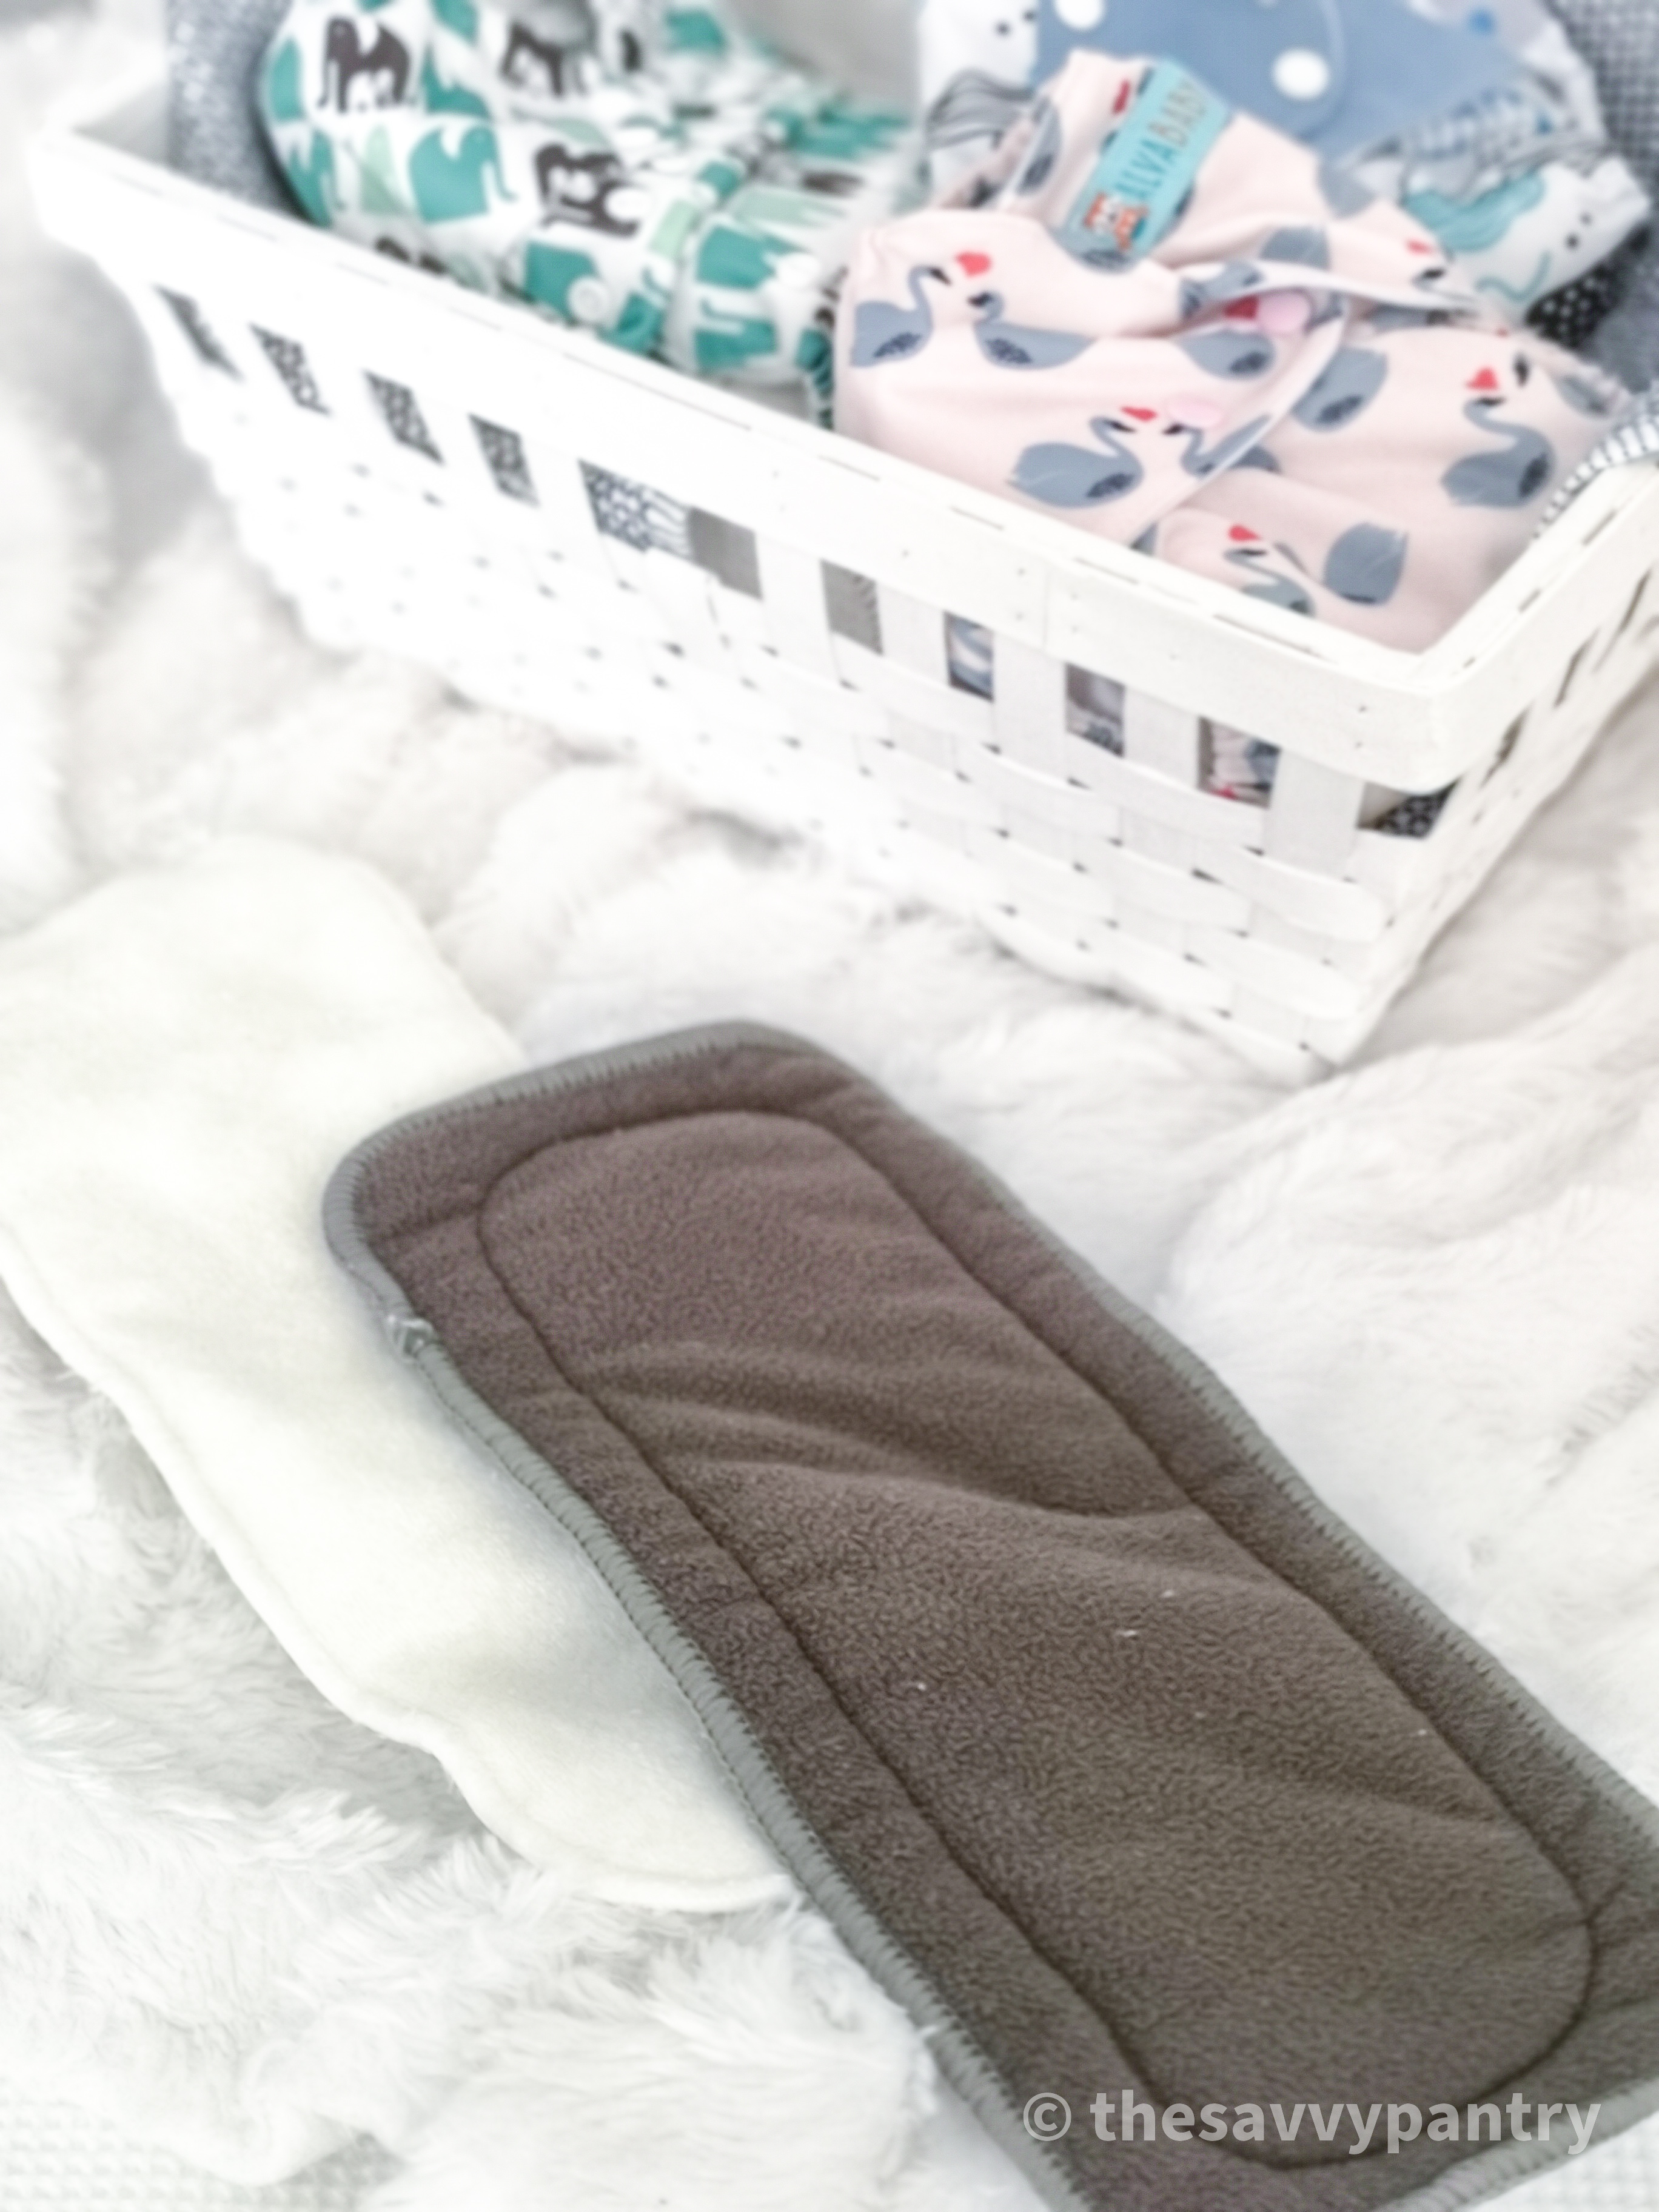
There are 2 types of inserts: bamboo and microfiber. Microfiber is cheaper than bamboo, but from our experience not as absorbent as bamboo and we tend to experience leaking with microfibers. When purchasing your pocket diapers, you can select either microfiber or bamboo, so keep that in mind, but we do recommend bamboo. You can also find charcoal bamboo which are also anti fungal and anti bacterial, which is great because we tend to use these for overnights since we are changing the diaper less often.
Can newborns fit into the cloth diapers?
It depends on your baby and the brand you buy! Of course, it’s impossible to know how much your baby will weigh before they are born, but keep in mind that for the diapers we have (Alva Baby and Kawaii to be exact), it could accommodate 8lb+. There are hacks where you can fold the diaper a certain way to accommodate newborns, but depending on how chunky your baby’s legs are, there might be too much space to be able to full seal the diaper from any leaks. Note that you can also purchase newborn sized diapers, but this will add to your overall cost for cloth diapering your baby.
For us, for the 1st week we did actually use disposables since we were monitoring the number of dirty diapers our was creating, to ensure he was eating enough and gaining enough weight. Luckily for us, Ezra was born over 8lb so when we made the transition to cloth diapers when he was a week old, he was able to fit into them without issue.
How do you really clean cloth diapers?
It’s pretty easy to clean. You will need to purchase a wet bag that you can put into a laundry basket for all of the dirty diapers. Then you throw the whole thing into the laundry machine for 2 cycles:
The 1st cycle is the quick rinse cycle
The 2nd cycle is where it really deeps clean
Once the diapers are washed, the liners actually naturally separate from the pocket diapers in the washing machine so it’s really easy to clean. Then we hang dry the pocket diapers, but machine dry the liners to get them fluffy again.
Will there be a smell?
We found that there is no smell! However, the diaper pail does sometimes get a bit dank, so we just throw in a dryer sheet with essential oils into the laundry bin for some freshness. Also note that we haven’t entered the solid food stage yet, so once we do, we will be updating this guide for future reference.
What do you do with poop?
Because the primary food source is still milk, the poop is still in liquid form (and not solid) so there is no added step in cleaning the diapers – it all goes into the wet bag, which goes straight into the washing machine.
Do they leak?
When fastened correctly, they do not leak at all! In our experience, the bamboo liners are much more absorbent than the microfiber ones so definitely choose bamboo instead. We also double line the diapers with bamboo charcoal liners for overnights for even extra absorbency.
We did find that the Mama Koala diapers did tend to leak overnight since Ezra sometimes sleeps on his side, and found inconsistency with Alva baby. We have not had any leaking issues with Kawaii overnight so I do recommend trying that first (though you may need to troubleshoot for yourself based on your baby’s body).
How do I use cloth diapers outside of the house?
Just like regular diapers, we bring a few in case we need to change them while we’re out. We also purchased a travel sized wet bag that we throw the dirty diapers into and then wash when we get home. The bag does not leak and contains the soiled diapers.