Hi Savvys,
You know those ideas that live rent-free in your head for years? This garden bed is one of them.
I actually had the vision for this simple DIY raised garden bed 4 summers ago—before my first was even born. I finally got around to building it two summers ago after my second arrived, and now, as we’re packing up to move, I’m finally writing this down.
Honestly? Part of me is sharing this because I want to preserve the instructions for my future self at the new house. But I also want to share how incredibly easy and affordable this was to build—especially if you’re in Canada and can find anything at your local hardware store (I bought all of my supplies at Home Depot).
Oh—and credit where credit is due: I originally got the idea for this raised bed setup from Kevin at Epic Gardening. His method used a single layer of boards, which is super efficient—but I decided to go with 2 layers high. I just find that the extra height gives the plants more room to grow and makes it easier on my back when I’m tending to them.
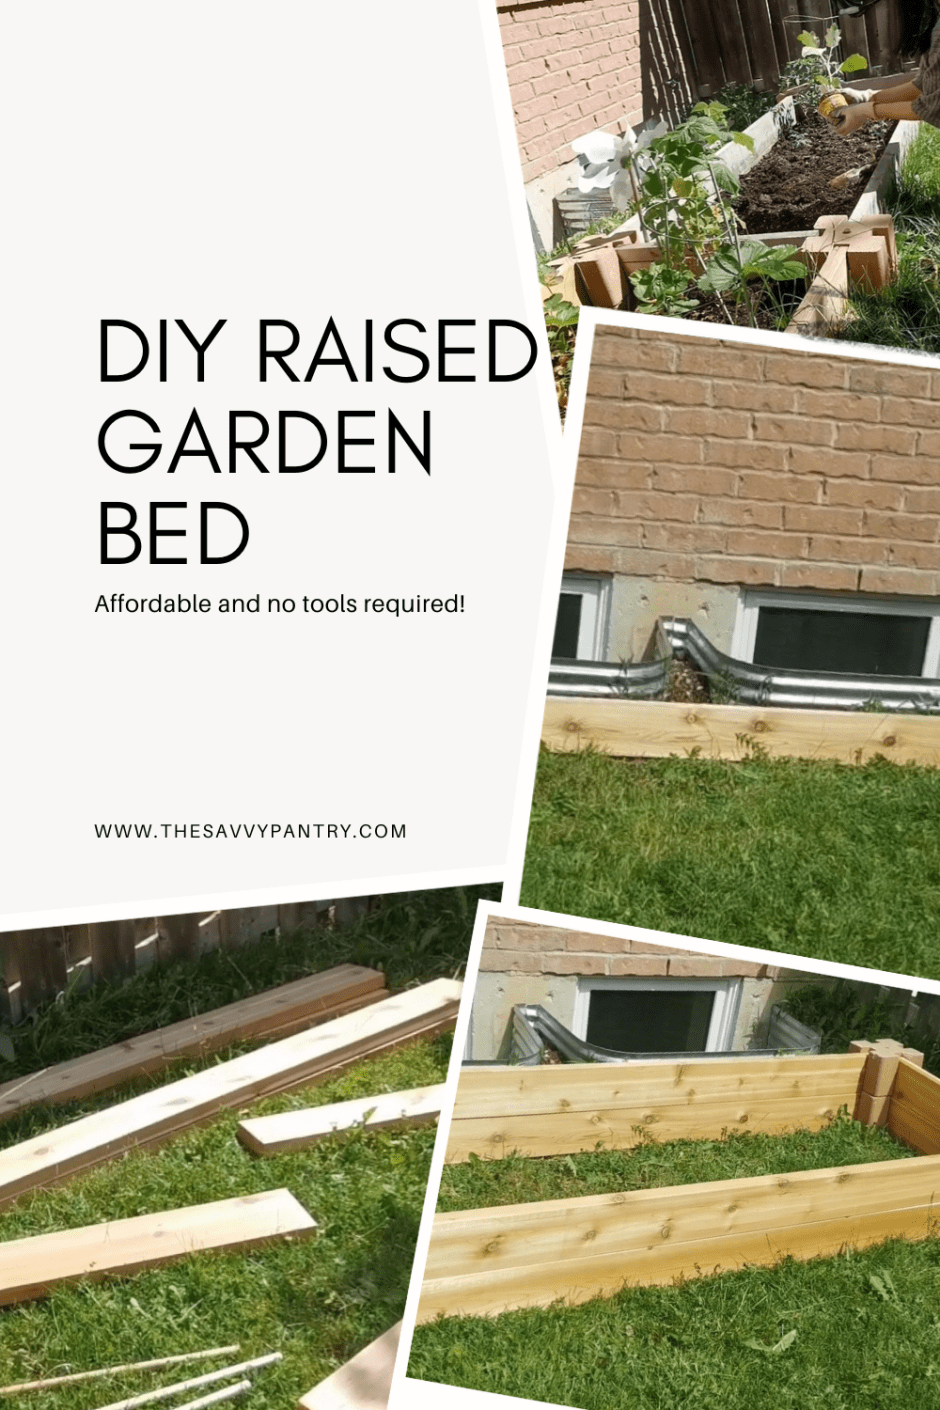
Materials for 2 level raised garden bed
- 8 garden blocks – $5.98 each
→ Total: $47.84 - 1 dowel, 72” long (make sure it fits in the holes of the garden blocks) – $10.78
→ Cut into 4 equal pieces (18″ each) - 4 x 8′ long 2×6 boards – $13.97 each
→ Total: $55.88
→ Cut into:
• 4 pieces at 2′
• 4 pieces at 6′
Total cost: $114.50 CAD + tax
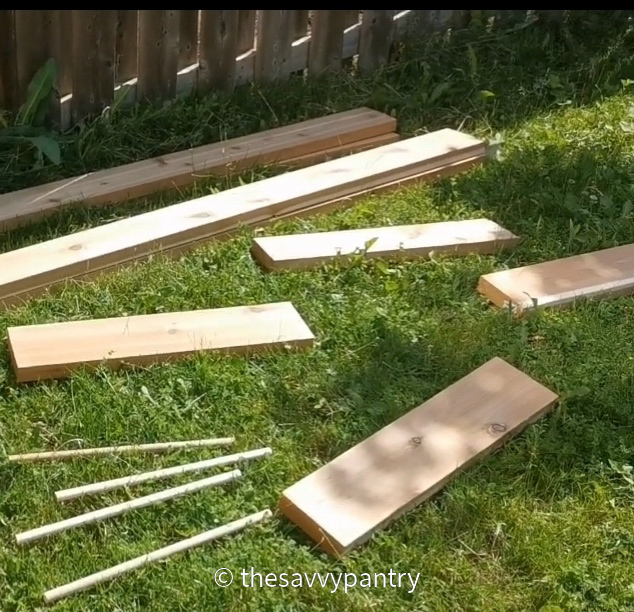
🪵 Choosing the Right Wood (and Getting It Cut)
I bought 4 8-foot 2×6 boards and had them cut at Home Depot. They kindly cut each board in half, giving me 4 2′ boards and 4 6′ boards, so everything was ready to go once I got home.
Because I’m using this to grow fruits and veggies, I made sure to ask for untreated wood—you don’t want chemicals leaching into your soil especially if you will be eating the plants! The Home Depot associate also helped me choose a wood that would resist rot and last longer in direct contact with the ground. I forget the exact type we landed on, but if you explain your project to someone in store, they’ll point you in the right direction.
The associate also cut the dowels for me into 4 pieces, which was very helpful!
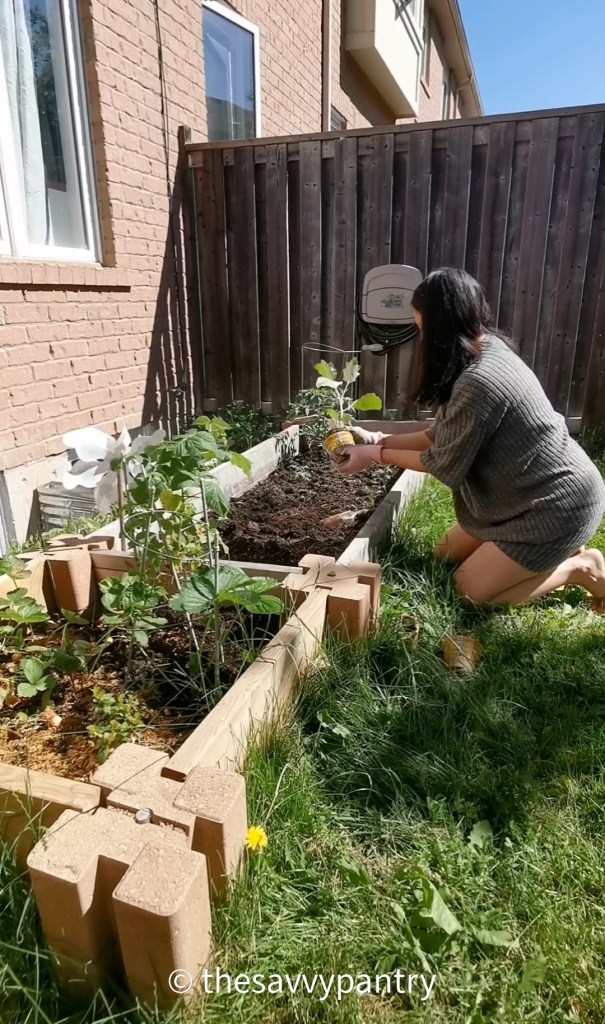
🌱 What I Planted
I filled the bed with a mix of store-bought soil and homemade compost from my Lomi, and I planted:
- Strawberries
- Raspberries
- Cucumbers
- Tomatoes
- Peppers
- Zucchini
Some of these I purchased as plants, but some of these I had started seedlings indoors during the winter, which is another way to stretch your money further for this garden project!
The two-board height gave everything enough depth to thrive—especially the tomatoes and zucchini, which always seem to want a bit more room!
How to Build It (Double-Layer Version)
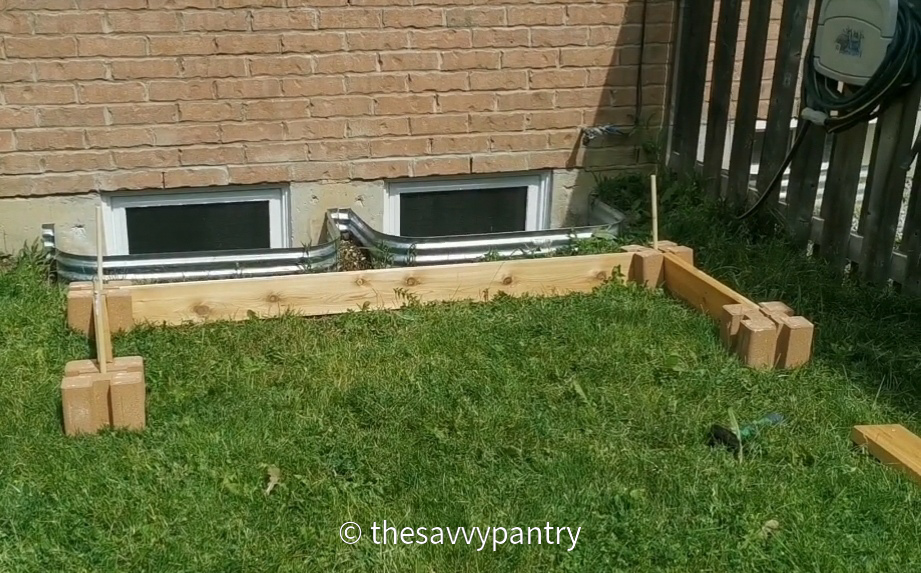
- Layout the Blocks
Choose an area of your backyard which will get the most sunlight. Fortunately for me, this area was also right in front of our basement windows, creating a barrier to prevent my kids from running into. Arrange the 8 garden blocks in a 2 ft x 6 ft rectangle. - Insert the Boards
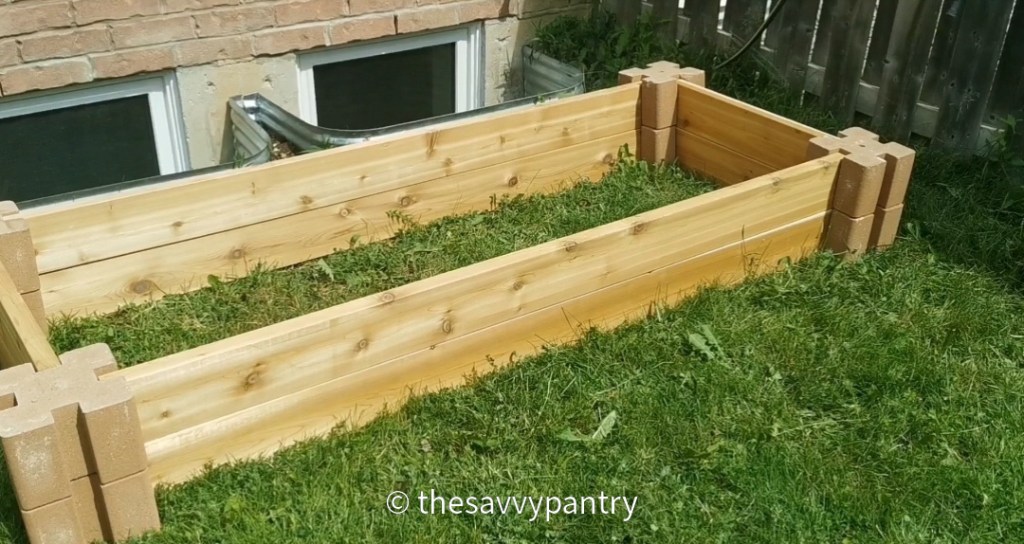
Slide in one layer of boards: two 2′ boards for the short ends and two 6′ boards for the long sides. Then repeat with a second layer to stack them two boards high in each slot. - Secure the Corners with Dowels
Hammer each dowel down through the center of each garden block until it’s flush with the top. This pins the whole structure to the ground and prevents shifting over time.
That’s it! No screws, no drilling. The blocks and dowels do all the work.
Final Thoughts (and Future Dreams)
I’ve have this garden bed now sitting in my backyard for 2 years now and even built an extension because it worked so well!
Now that we’re moving, I’m sad to leave this raised bed behind—but so glad I finally wrote down how to make it. Hopefully I won’t wait another few years to rebuild it at the new place!
If you’ve been dreaming of a garden but don’t want a massive construction project, this is the perfect beginner-friendly build. It’s sturdy, affordable, safe for kids, and ideal for growing food. Plus, you can easily expand it or add a trellis if you want more space later.
Now set forth and be savvy!


")
")
")
")

")
")
")
")
")
")