3 Kitchen Hacks to Help You Save Time and Reduce Food Waste

https://youtube.com/shorts/wX-rz1IUqYs

Hi Savvys,

I though I was a pro at food and meal prep before having kids, spending about 15 hours on the weekend meal prepping for the week for only my husband and myself.  However, since becoming a mother of 2, I have mastered the art of meal and food prep and have become more productive with my time!  I am more efficient, am still able to make nutrient packed meals and still have time to spend with the family.  Here are my 3 kitchen hacks that I use on a weekly basis to help me save time in the kitchen!

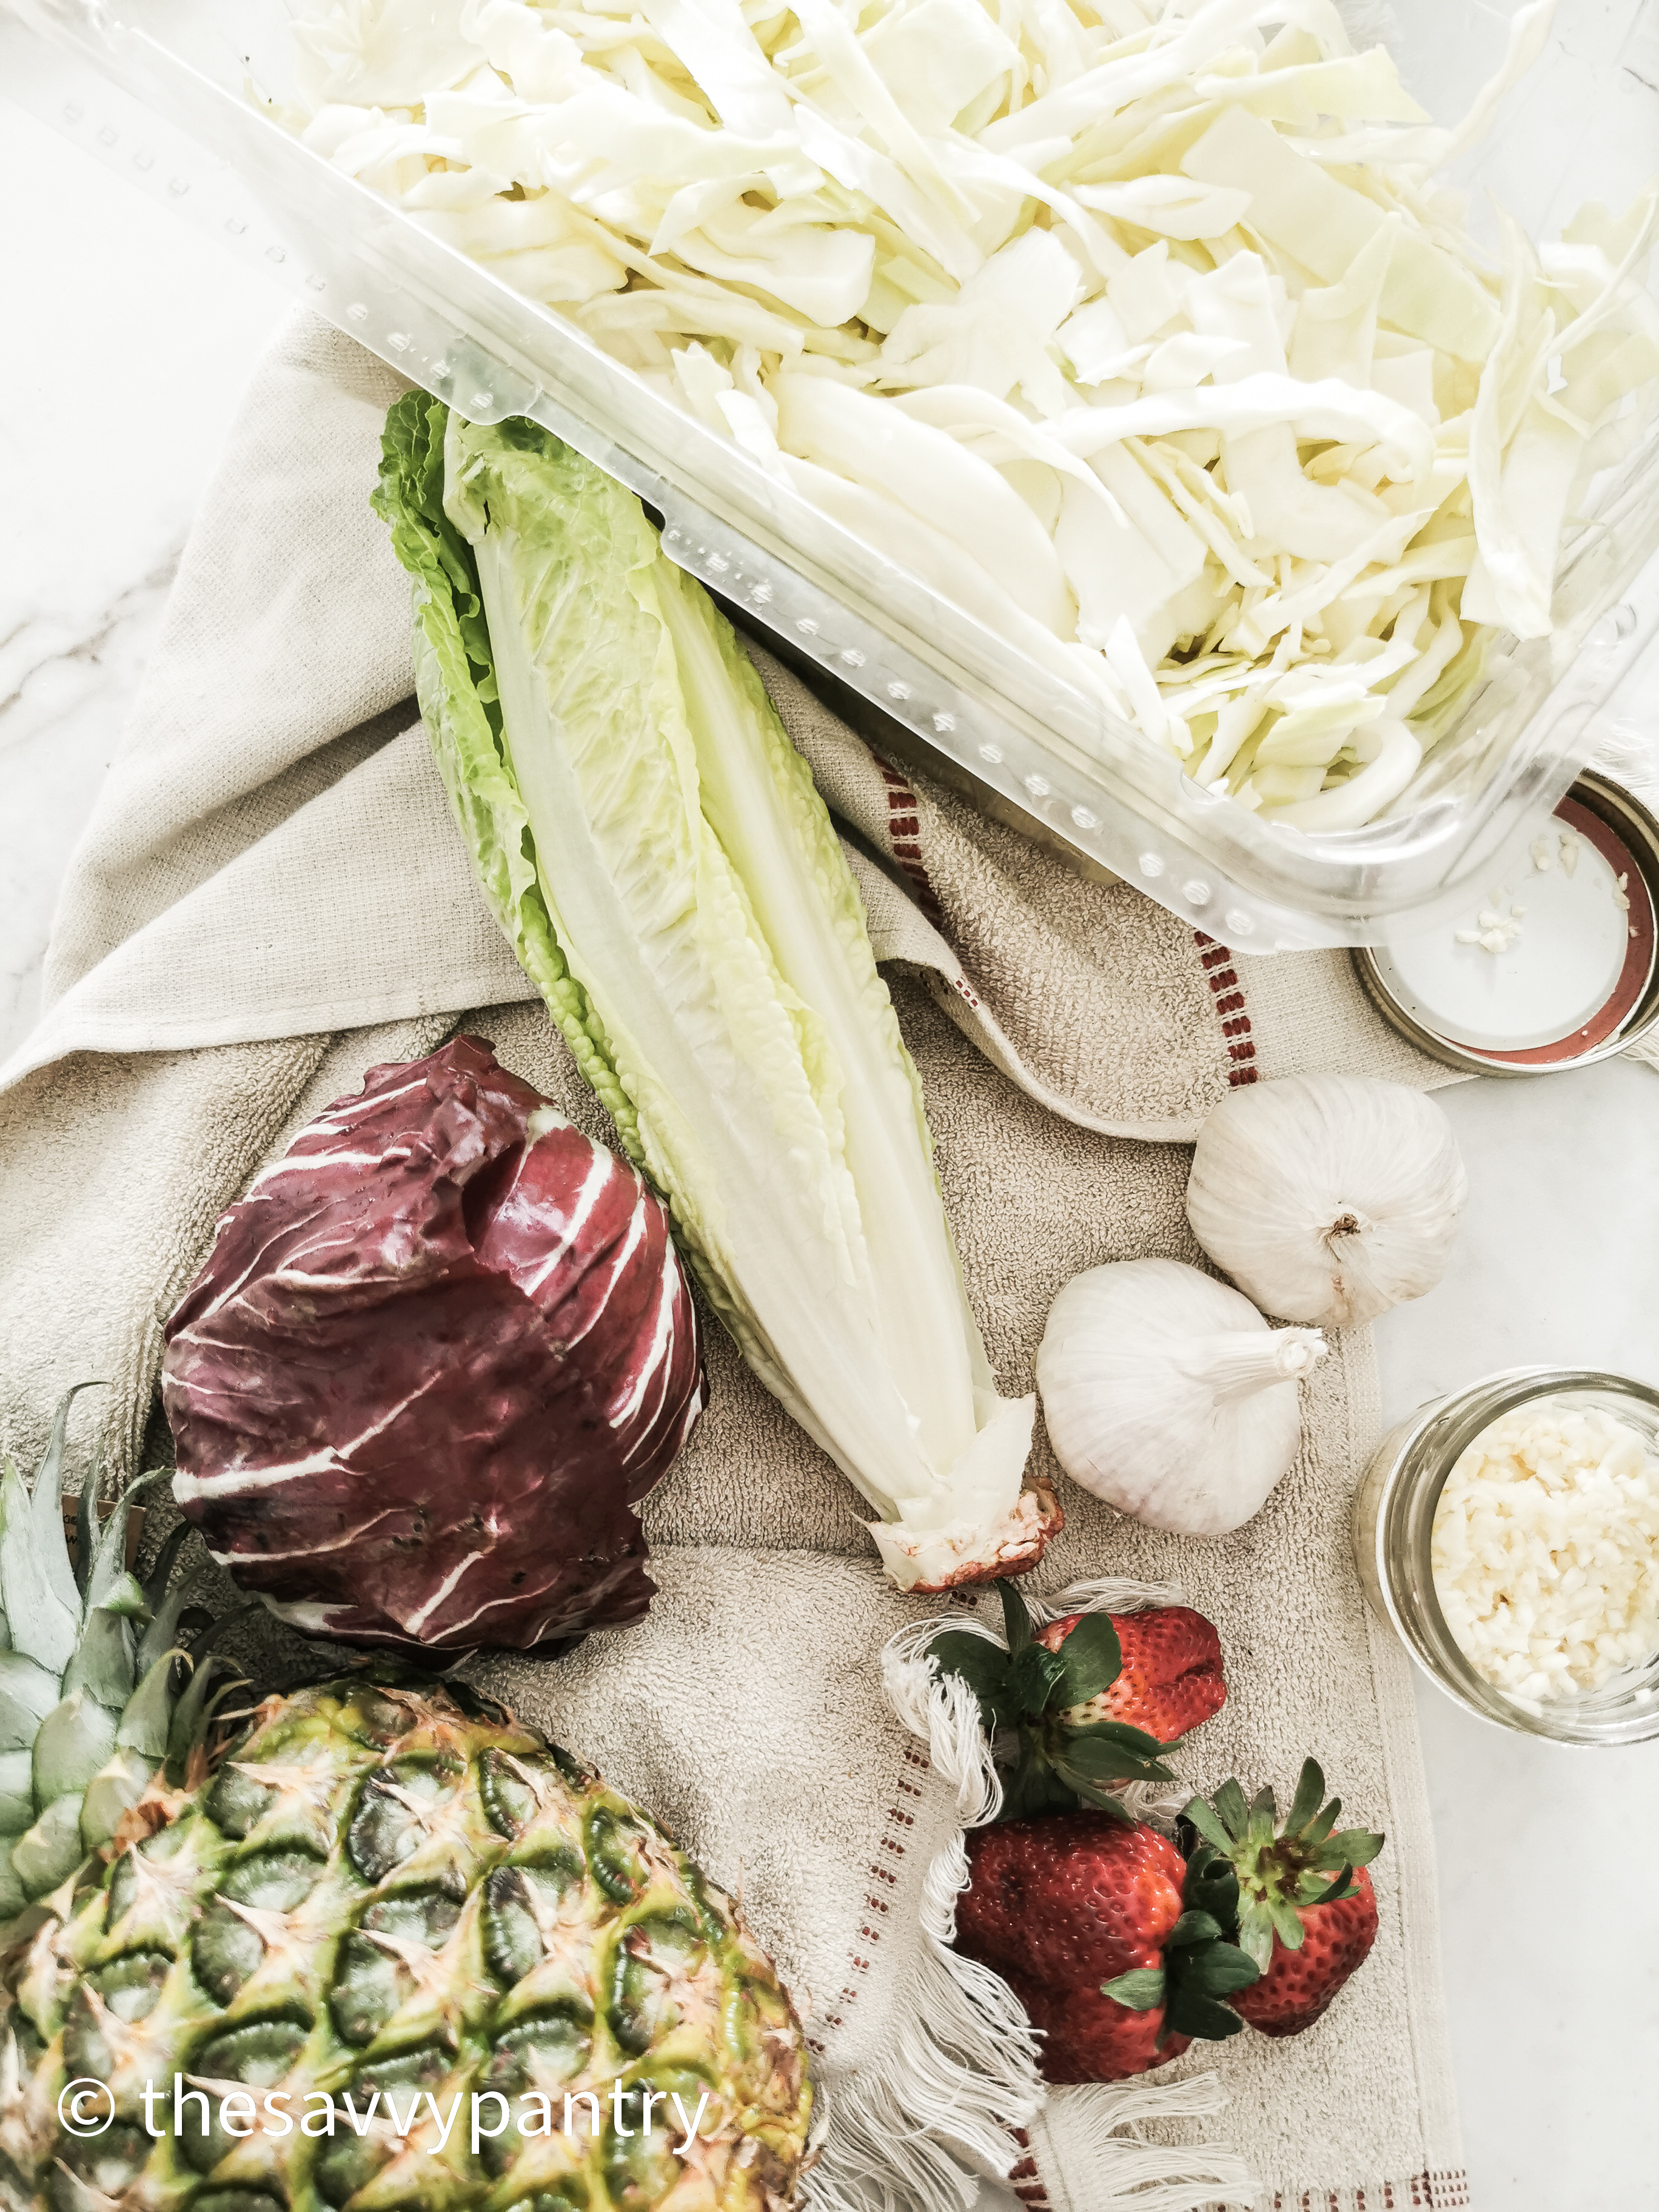
  1. Wash all of your leafy greens
    1. In our household, we always have bok choy, cabbage, lettuce and other leafy greens on hand for salads and stir frys.  To ensure that our greens are not going to waste and actually ending up in our weekly meal rotation, I wash and cut all of my leafy greens as soon as I get home from the grocery store.  I spin dry them in a salad spinner and chop them up so it’s easy to add to any dish.  A brilliant hack I have is to reuse salad containers to store your washed produce in!  Not only are you reusing something that would have most likely ended up in the landfill, but it’s also the perfect size, already made to fit your fridge!
  2. Wash and prep all of your fruit
    1. My family always has fresh berries on hand.  To ensure their shelf life and easy access for the little ones, I wash soak them in a water and vinegar solution for 10 minutes before air drying them for half the day.  Once they are dry, I store them in containers in the fridge so it’s easy to add to our oatmeal breakfasts and to the kids’ plates for meals.  I also ensure that I chop up any fruit like melons or pineapple to ensure that I can save time when looking for a quick snack for the kids or to add to smoothies.
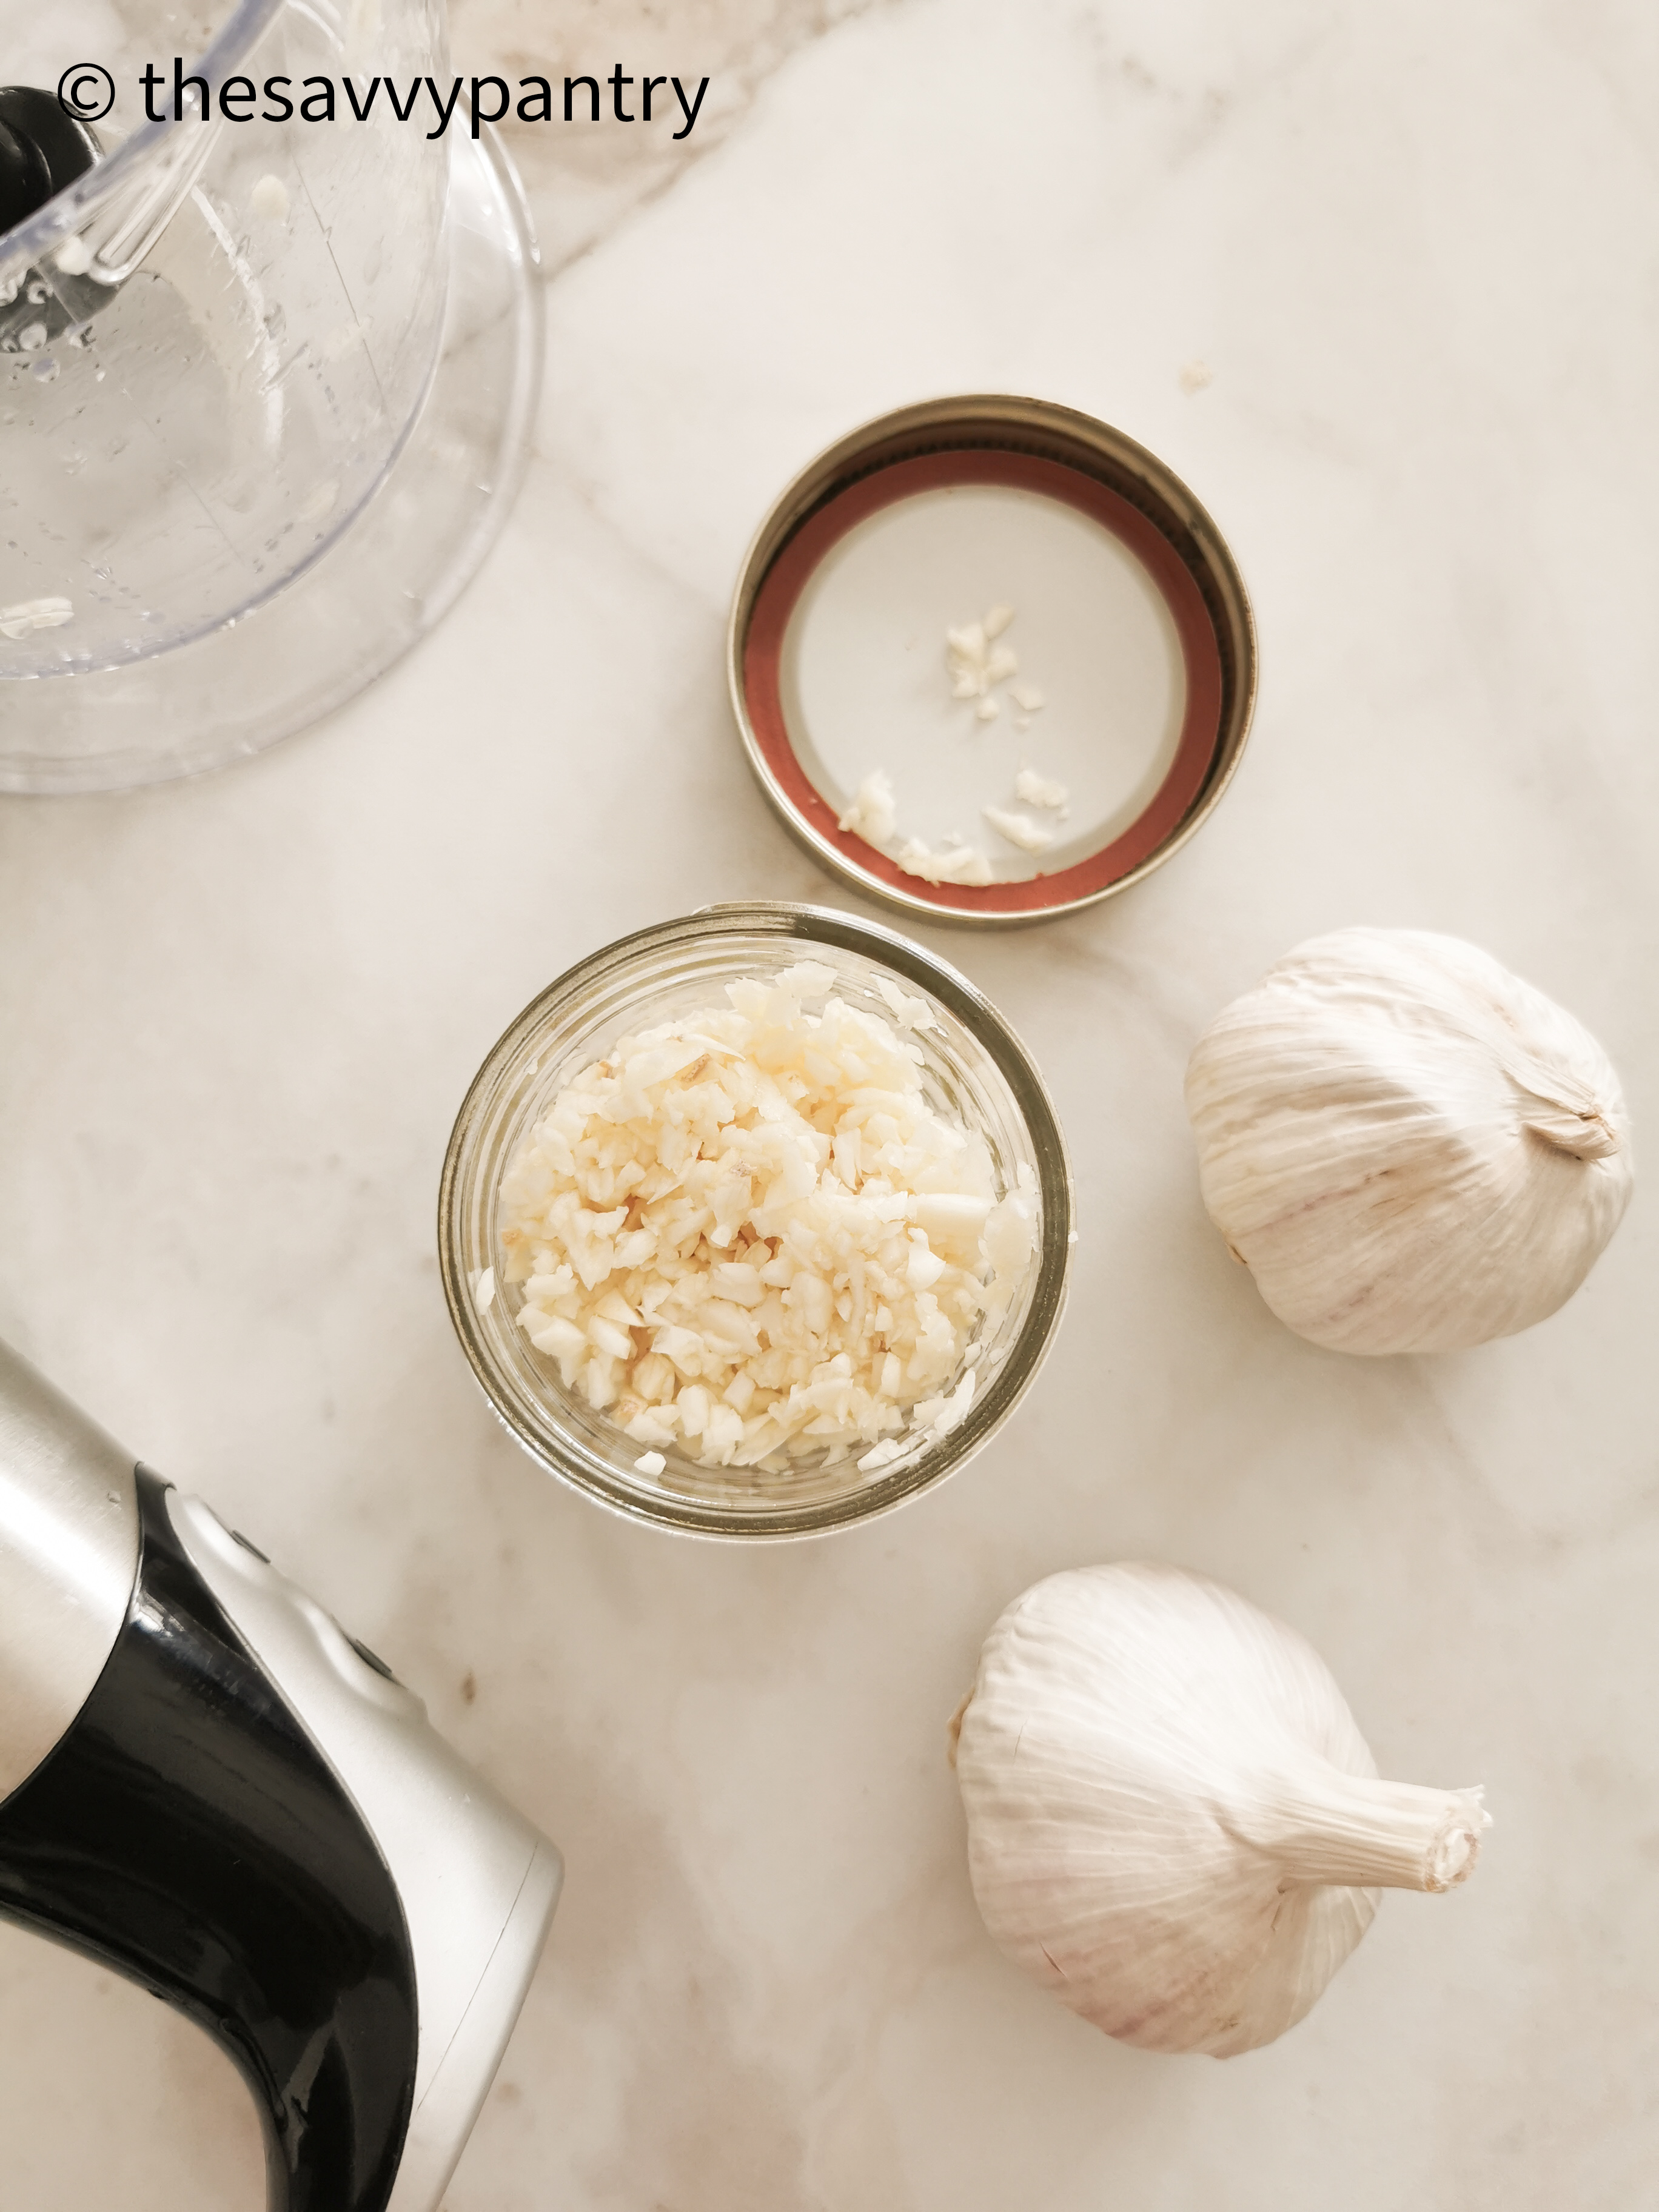
  3. Prep minced garlic, onion and ginger
    1. Because we cook the majority of our meals from scratch, I use a lot of garlic.  To save me time in the kitchen, at the beginning of every week, I will add all of the cloves of garlic of an entire heave of garlic to a mini food processor and process until finely chopped.  Then I store it in a small mason jar in the fridge so it’s ready to go.  This saves me so much time when I am whipping up a weeknight meal.  You can prep onion and ginger in the same way.  Since I don’t go through ginger as quickly, I like to store them in ice cube trays in the freezer so that I can take out small portions as needed.

I hope you guys find these tips useful in your kitchen!  Comment below on any hacks that you use in your kitchen that you would like to share!

Now set forth and be savvy!

How to Roast a Jack-O-Lantern Pumpkin

Hi Savvys,

Every year, like so many other households, I like to purchase the biggest pumpkin that I can find to signal to trick-or-treaters that we are giving out candy.  If the pumpkins are really cheap, like a few dollars cheap, I like to purchase 2!  I don’t carve the pumpkins or decorate them, but sit them on my porch since they are a decoration piece in itself.

Once Halloween is over, I love to cut them open and roast the seeds as a healthy snack.  You may not have already known this, but you can actually roast the meat of a Jack-O-Lantern pumpkin as well!  These pumpkins have been cultivated to grow larger, and therefore have a larger water content than pie pumpkins, however they are still full of nutrients even if the pumpkin flavour is more subtle. 

Of-course being the eco-warrior that I am, I never let a Jack-O-Lantern pumpkin go to waste!  Because they are high in fiber, vitamin C, potassium, vitamin E and iron, to name a few, they are perfectly fine to eat in sweet or savoury recipes. 

 I like to roast the flesh, puree it in my Vitamix and freeze it so that I always have roasted puree on hand!  I use the puree in various recipes, such as the below:

Pumpkin barley risotto

-Pumpkin spiced granola

-Pumpkin spiced oatmeal

-Pumpkin Lasagna

-Pumpkin Soup

-Added to smoothies for a punch of nutrition

And so much more!

Follow the directions below on how you can roast your own Jack-O-Lantern pumpkin and enjoy it long after Halloween is over.  Also check out my video tutorial to see how easy it is.

Now set forth and be savvy!

Ingredients

  • 1 Jack-O-Lantern pumpkin
  • Oil
  • 3 Baking Dishes

Directions

  1. Pre-heat oven to 400 degrees
  2. Cut the pumpkin in half and scoop out all of the seeds – reserve for roasting and snacking
  3. Cut each half into smaller segments to allow the pieces to fit into the roasting pans
  4. Coat the bottom of 2 (or 3, depending on the size of your pumpkin) roasting pans with oil
  5. Drizzle some oil onto the flesh of each pumpkin segment and rub generously
  6. Place each pumpkin segment flesh side down (skin side up) onto the roasting pan
  7. Feel free to season with salt and pepper – however, since I like to use the roasted pumpkin for both sweet and savoury recipes, I leave out the salt and pepper
  8. Roast in the center of the oven for 50-60 minutes, rotating at the halfway mark; you may also want to put a baking sheet on the lowest rack in case there is spillage from the pumpkins when roasting
  9. Once done, remove from the oven and let it cool down enough so you can handle it, overnight if you can (I just leave it in the oven over night and deal with it in the morning)
  10. Carefully scoop out the flesh from the skins with a spoon and add to a blender or food processor – blend/process until smooth, about 30 seconds; discard the pumpkin skins
  11. Note that there could be liquid at the bottom of the roasting pans from the pumpkins– you can keep this liquid and add it to soups or stews as a broth or add it to smoothies
  12. Store in the freezer for up to 3 months
  13. I was able to get about 14 cups of pureed pumpkin!  Can be stored in the fridge for up to a week, or in the freezer for 6 months.