Simple Vegan Banana Bread

TheSavvyPantry-SimpleVeganBananaBread-Title

Hi Savvys,

I always have bananas on hand for smoothies, oatmeal bowls and to eat on toast.  I rarely ever have bananas in the freezer because we always eat them all up before they go bad.  However, every now and then, usually when we go on vacation, I end up having to freeze some bananas for a later use to prevent them from going bad and wasting them.

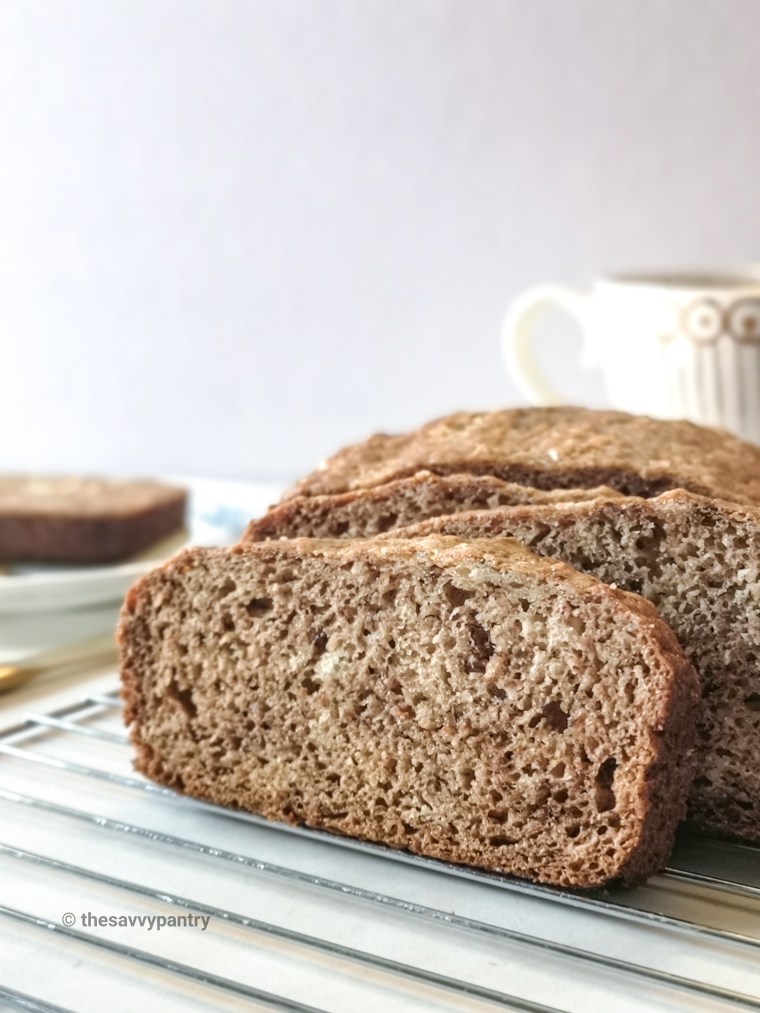
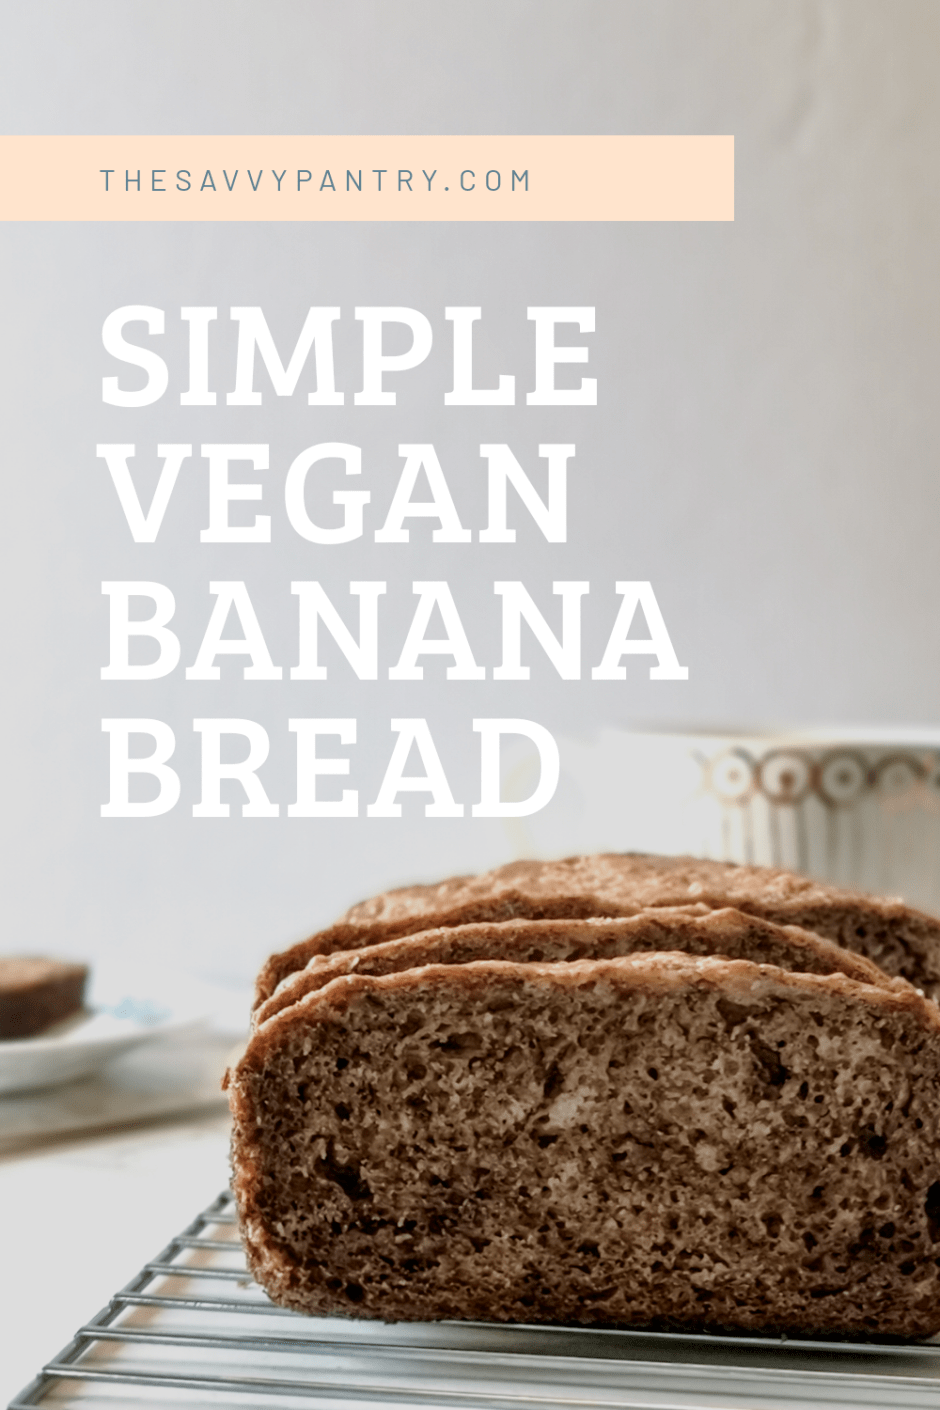
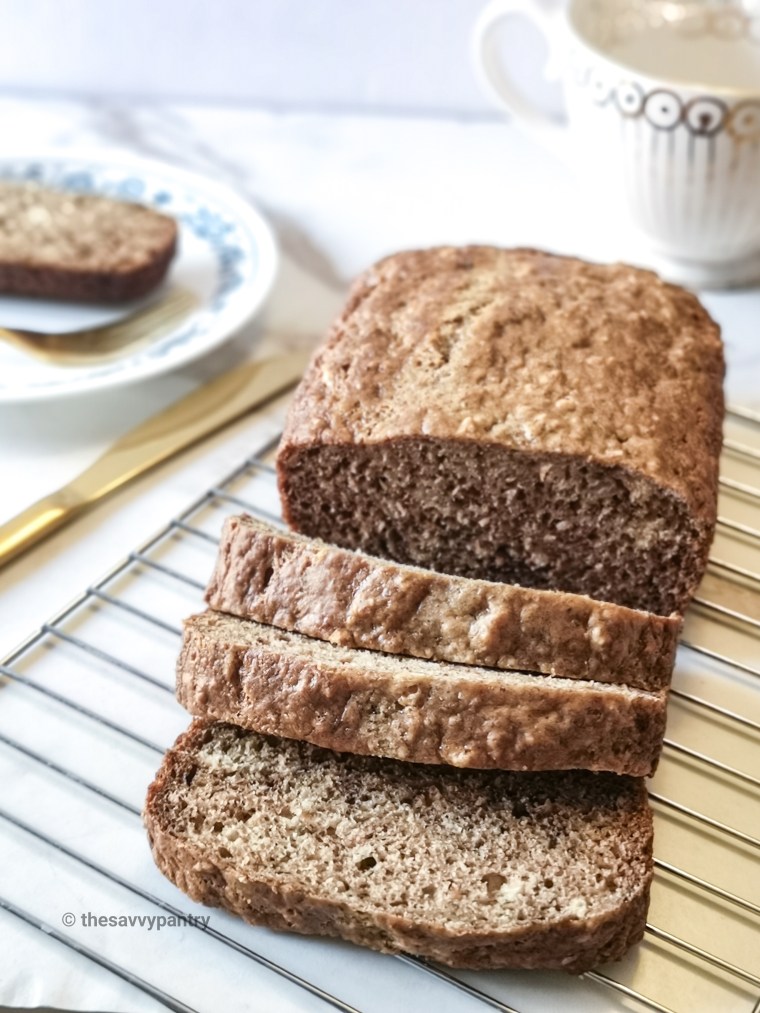
Of course, the best thing to make with frozen over ripened bananas is a banana bread!  My vegan banana bread was created out of pure necessity to use up the odd bananas that I throw into the freezer.  This loaf uses minimal ingredients and uses butter soy milk in place of oils.  I like to use this recipe as a base for other loafs, such as a chocolate chip banana bread, chocolate banana bread and even a carrot and banana bread – recipes to come soon!

This bread is spongy, has the perfect amount of sweetness and is really moist.  Enjoy this for breakfast, as an afternoon pick me up or even as a dessert after dinner.  Hope you enjoy my simple vegan banana bread below!

Now set forth and be savvy!

IMG_20200516_180610 (1)

Ingredients

  • 1 flax egg (1 tbsp ground flax seed and 3 tbsp hot water)
  • 1/3 cup unsweetened soy milk
  • 1 tbsp apple cider vinegar
  • 3 ripened bananas
  • ½ cup sugar
  • 1 1/4 cup flour
  • 1 tsp baking soda
  • 1 tsp baking powder
  • 1 tsp cinnamon
  • ½ tsp salt

Directions

  1. Preheat oven to 350 degrees
  2. Make your flax egg by mixing the ground flax seeds and hot water in a bowl, set aside
  3. Make your butter soy milk by combining the apple cider vinegar to the unsweetened soy milk in a bowl, set aside
  4. Mash the bananas in a medium sized bowl and mix in the sugar until absorbed
  5. In a large bowl, mix the flour, baking soda, baking powder, cinnamon and salt with a spatula
  6. Mix in the flax egg and the butter soy milk into the banana and sugar mixture
  7. Add the wet ingredients into the dry ingredients and fold until just combined, do not over mix
  8. Grease a loaf pan with coconut oil if it is non stick (skip this step if it’s a non-stick pan)
  9. Pour the batter into the loaf pan
  10. Bake for 50-60 minutes, testing with a toothpick at 50 minutes to ensure the center is cooked

IMG_20200516_180639 (1)

3 Giftable Vegan Sweet Treats: Toffee Crackers, Chocolate Covered Pretzels and Gingerbread Energy Bites

TheSavvyPantry-3GiftableSweetTreats-Title

Hi Savvys,

We’ve made it through a month of vegan holiday recipes!  With this final video, I wanted to share recipes that had a dual function: dessert and a gift.  These are so addicting because of their sweet and salty quality, so be sure to make a big batch to giveaway and the snack on at home!

Hope you guys enjoyed the recipes in this series.  Leave a comment below on what you’d like to see in the new year.  Now set forth and be Savvy!

TheSavvyPantry-3GiftableSweetTreats-ToffeeCrackers

IMG_20191124_185912

Ingredients for the Toffee Crackers

  • 1 sleeve of saltines
  • 1 cup of vegan butter
  • 1 cup brown sugar
  • 1 cup dark chocolate, melted
  • ½ cup shredded coconut
  • 1 tsp sea salt

Directions for the Toffee Crackers

  1. Pre-heat oven to 400 degrees
  2. Line a baking sheet with parchment paper – this step is vital
  3. Lay out the saltine crackers in 1 single layer over the parchment paper
  4. Melt the butter in a pot and let it come to a bubble
  5. Add the brown sugar and mix, allowing the mixture to come to a bubble, about 5 minutes
  6. Take off the heat and pour over the layer of saltines
  7. Bring a small pot half filled with water to a boil
  8. Place a small heat safety dish on top of the pot.  Once the pot comes to a boil, reduce heat to medium low
  9. Fill the dish with the chocolate and melt gently, stirring constantly
  10. Once all of the chocolate is melted, pour over the caramel mixture
  11. Sprinkle with the shredded coconut and sea salt
  12. Bake for 10 minutes
  13. Let cool, and separate the saltine crackers

TheSavvyPantry-3GiftableSweetTreats-ChocolateCoveredPretzels

IMG_20191124_185257

Ingredients for the Chocolate Covered Pretzels

  • 24 large pretzels
  • 4 candy canes
  • 1/2 cup chocolate

Directions for the Chocolate Covered Pretzels

  1. Place the candy canes in a food processor and pulse for 10 seconds so that you still have some large pieces of candy cane
  2. Fill a small pot halfway with water. Place a small bowl on top (ensuring that the bottom of the bowl does not touch the water), and place the chocolate in the bowl
  3. Bring the pot of water to a boil and slowly melt the cholate over medium heat, stirring constantly until smooth
  4. Line a baking sheet with parchment paper.
  5. Dip one side of the pretzel in the chocolate and sprinkle some crushed candy cane on the chocolate
  6. Set on parchment paper to dry, about 3 hours

TheSavvyPantry-3GiftableSweetTreats-GingerbreadEnergyBites

IMG_20191124_185645

Makes 24

Ingredients for Gingerbread Energy Bites

  • 20 dates
  • 1 cup pecans, 1 cup walnuts
  • 1 tbsp chia seeds
  • 1 tbsp flax seed
  • 1 tbsp hemp seeds
  • 2 tsp cinnamon
  • 1 tsp ground ginger
  • 1 tsp nutmeg
  • 1 tbsp maple syrup
  • 1 tbsp molasses
  • ½ tsp cloves
  • ¼ tsp salt

Directions for Gingerbread Energy Bites

  1. Place all ingredients into a food processor
  2. Mix until the mixture sticks together when you pinch it, about 2 minutes
  3. Scoop into small balls and roll out with your hands

Cookies and Cream Energy Bites

Cookies and Cream Energy Bites

Hi Savvys!

I love energy balls for so many reasons.  They are so easy to make, delicious and packed full of nutrients.  We travel quite often, and when we do I always make sure to make some energy balls for the trip.

InShot_20190223_164553830.jpg

This recipe was created when I had self-imposed a “banana” challenge – I had accumulated 60 bananas from a work function and didn’t want them to go to waste, hence the self-imposed challenge.  I made at least 4 batches of these, which was great because they’re easy to freeze and taste great when cold.

TheSavvyPantry-CookiesandCreamBites01.jpg

I hope you try these out; they’re super easy to make and travel well.  Leave me a comment below on what you think of these!

Now set forth and be savvy!

Ingredients

  • 1 ripened banana
  • 2 cups shredded unsweetened coconut
  • 2 tbsp coconut oil, melted
  • 1 tbsp maple syrup
  • ½ cup carob chips, chopped

Blend everything except the chocolate chips in a food processor until it comes together.

Remove blade from the container and mix in carob chips with a spatula

Form into 20-24 balls

Refrigerate for4 hours or over night

They are best served cold, but room temperature is fine too.

Watch the video below on how easy these are to make!

TheSavvyPantry-CookiesandCreamBites00.png

Hazelnut Truffles

Hazelnut Truffles

HI Savvys!

I can’t believe we are already in the month of February!  This year is really flying by, and it’s already Valentine’s day this week!  To help you be savvy this Valentine’s day, I am sharing an easy DIY gift that will surely make your Valentine/Galentine happy!

InShot_20181224_113713431.jpg

My recipe for hazelnut truffles were inspired by Ferrero Rocher and are super easy to make.  You won’t feel guilty either if you eat the entire batch because they are a healthier version of the decadent classic.

Be sure to share these with your friends and loved ones (and avoid temptation to keep them all to yourself).

Now set forth and be savvy!

Ingredients

Makes between 16-20

  • 1 cup hazel nuts, roasted
  • 14 pitted dates
  • ¼ cup cocoa powder
  • 1 tbsp maple syrup
  • 2 tbsp non-dairy milk
  • ¼ cup puffed rice or quinoa (or you can substitute puffed rice)

Directions

  1. Preheat oven to 400 degrees. Lay a piece of parchment paper on top of a baking sheet, and place the hazelnuts on top in a single layer.  Roast hazelnuts for 10 minutes, tossing half way.
  2. Once the hazelnuts have cooled, place them in a kitchen towel and massage them to get all of the skin off. It doesn’t have to be perfect, just make sure the large pieces of skin are removed.
  3. Place the hazelnuts (without skin) and the rest of the ingredients into a food processor.
  4. Pulse the ingredients until it just starts to come together. I like to keep it chunky for the texture.
  5. Roll out into 1 tbsp sized balls and refrigerate before serving.
  6. I like to split the batch in half and freeze it so that I always have some treats on hand.

TheSavvyPantry-HazelnutTruffles.png