
Hi Savvys,
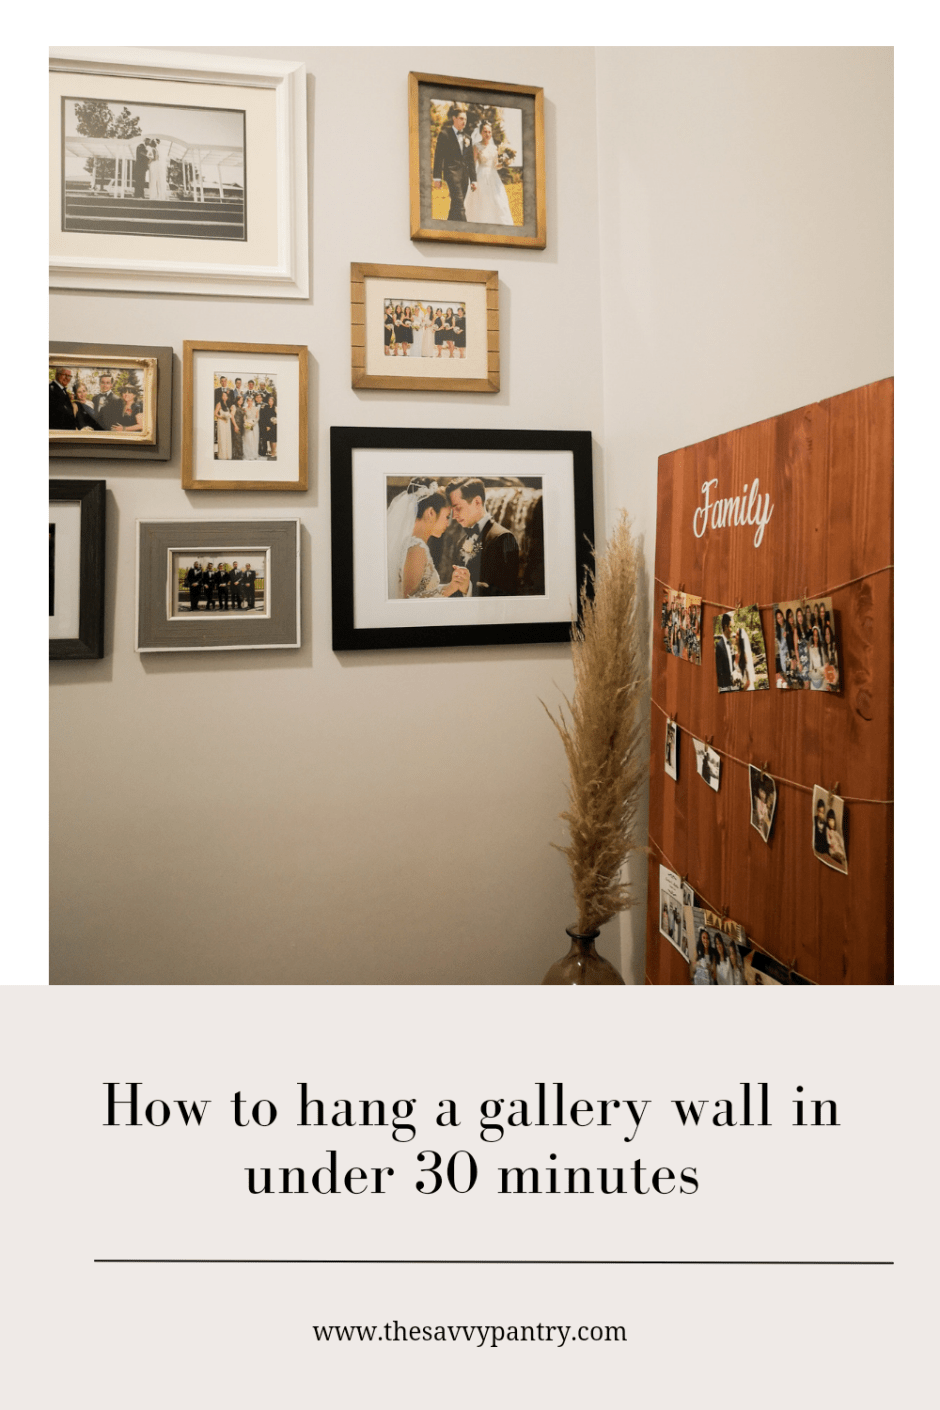
I am no stranger to hanging up gallery walls around my home. I love the look of they look on our wall as it serves both home décor as well as memory keep sakes. Since we renovated our kitchen, we had to take down our Wedding memory wall that was in our living room and had waited for months before finding the perfect place to relocate our memories. We decided to hang it on our staircase, and since we have a process down, I wanted to share that with you!
I remember the first gallery wall I put up was not exactly the best, it was a bit crooked and not spaced out as I had envisioned. After hanging up many gallery walls around our home, we have a process that can get it up in under 30 minutes, even with a toddler running around!
Equipment that you will need:
- Step stool/ladder
- Level
- Stud finder
- Power Drill or Screw Driver (though I highly recommend investing in a power drill, even helpful for putting together Ikea furniture!)
- Nails and Nail Anchors (if you will be hanging in drywall and not a stud)
- Pen
- Scrap Paper/News paper to serve as “templates” for your frames
- Tape
- Frames for your memory wall
Here are the easy steps to hang your gallery wall up in under 30 minutes:
Step 1: Arrange your frames on the ground in a way that you would want them displayed on the wall. This step is honestly the longest step because you can play around with so many variations of how you want your gallery wall to look.
Step 2: Turn the frames around so that you can see the back of frames and where the hooks are.

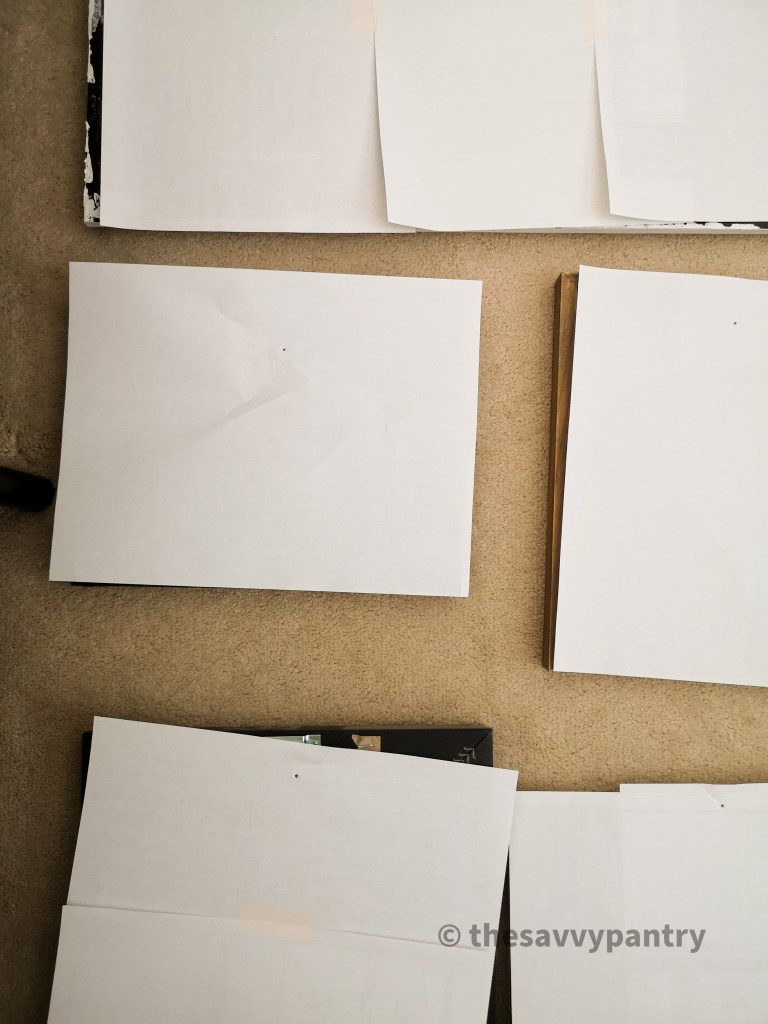
Step 3: Using scrap paper or newspaper, create templates for each of your frames by measuring out/cutting out/taping together pieces of paper that will match the same size of each frame. Place the templates onto each frame.
Step 4: For each “template”, using a pen, mark off where the nail looks are – this will be your guide for when you drill your nail into the wall
Step 5: Now that you have your frames laid out along with their associated template on top, transfer the templates onto your wall and secure using tape. This is where the time saving comes because you can rearrange the templates on the wall or adjust the spacing based on the amount of wall your have.
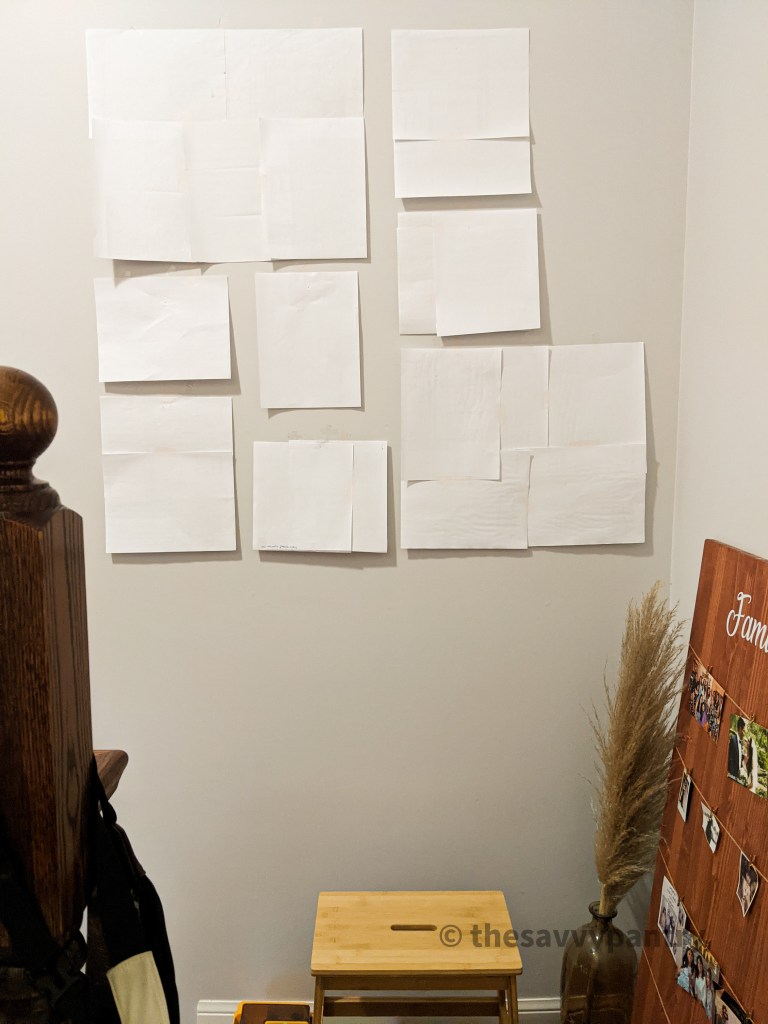
Step 6: Once all of your templates are on the wall, you can start drilling holes and installing nails into where you have indicated in your template. Note that you should use nail anchors if you are drilling the holes into only drywall and not a stud. Use a stud finder to locate the studs.
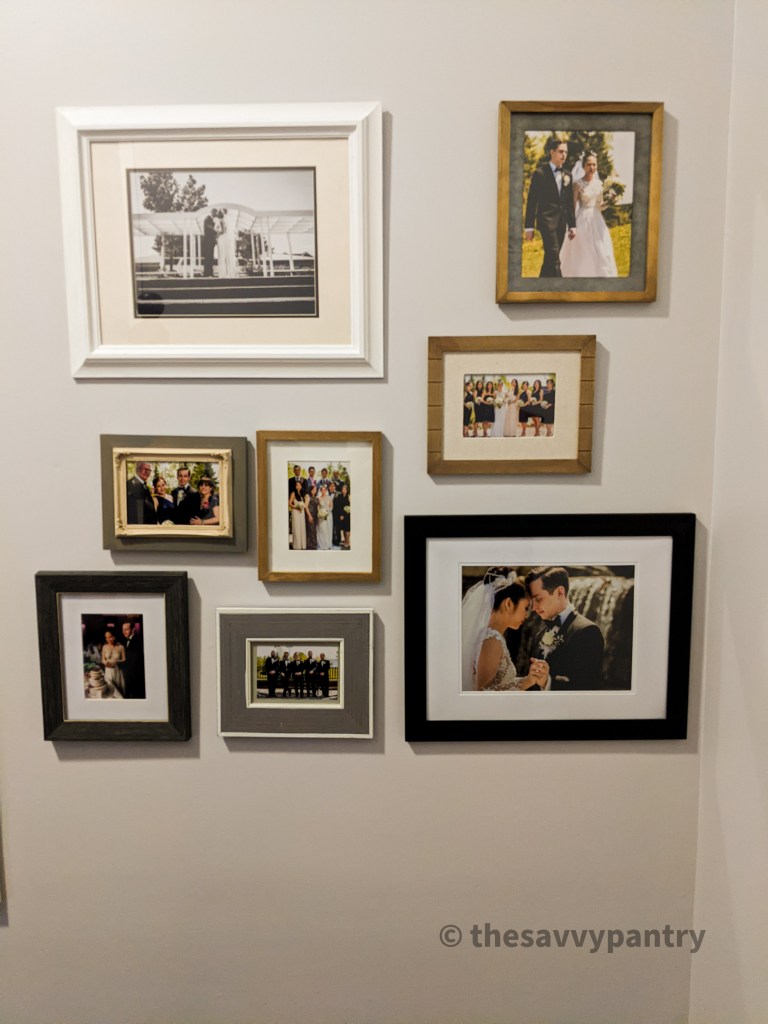
Step 7: Hang your frames
Step 8: Step back and admire that you had just completed this in under 30 minutes!
Now set forth and be savvy!

Beautiful family! How’d you get this done with your little run running around?
LikeLike